W+T
-
Posts
2,980 -
Joined
-
Last visited
-
Days Won
2
Content Type
Profiles
Forums
Events
Gallery
Blogs
Store
Everything posted by W+T
-
Because the cost of material is 4X and folk are very few folk are willing to pay that, around £140 a cage. And worst is my Tig welding days are over for now due to gettting bad shakes.
-
Got a couple of these Perkins 6354 and need to bleed them due to new filters and lines been fitted. I know the lift/prime pump and to crack off injectors but are there and bleed vales etc anywhere in the system to go at aswell ? Cheers
-
if bolted to a transom then it would be safer to access the cylinder from the boat not reaching over water no its the stumpy 3.9/4.5 size that have been stopped. other suppliers about though than Calor..
-
Thanks kida yes good for a cruiser, flat transom type boat.
-
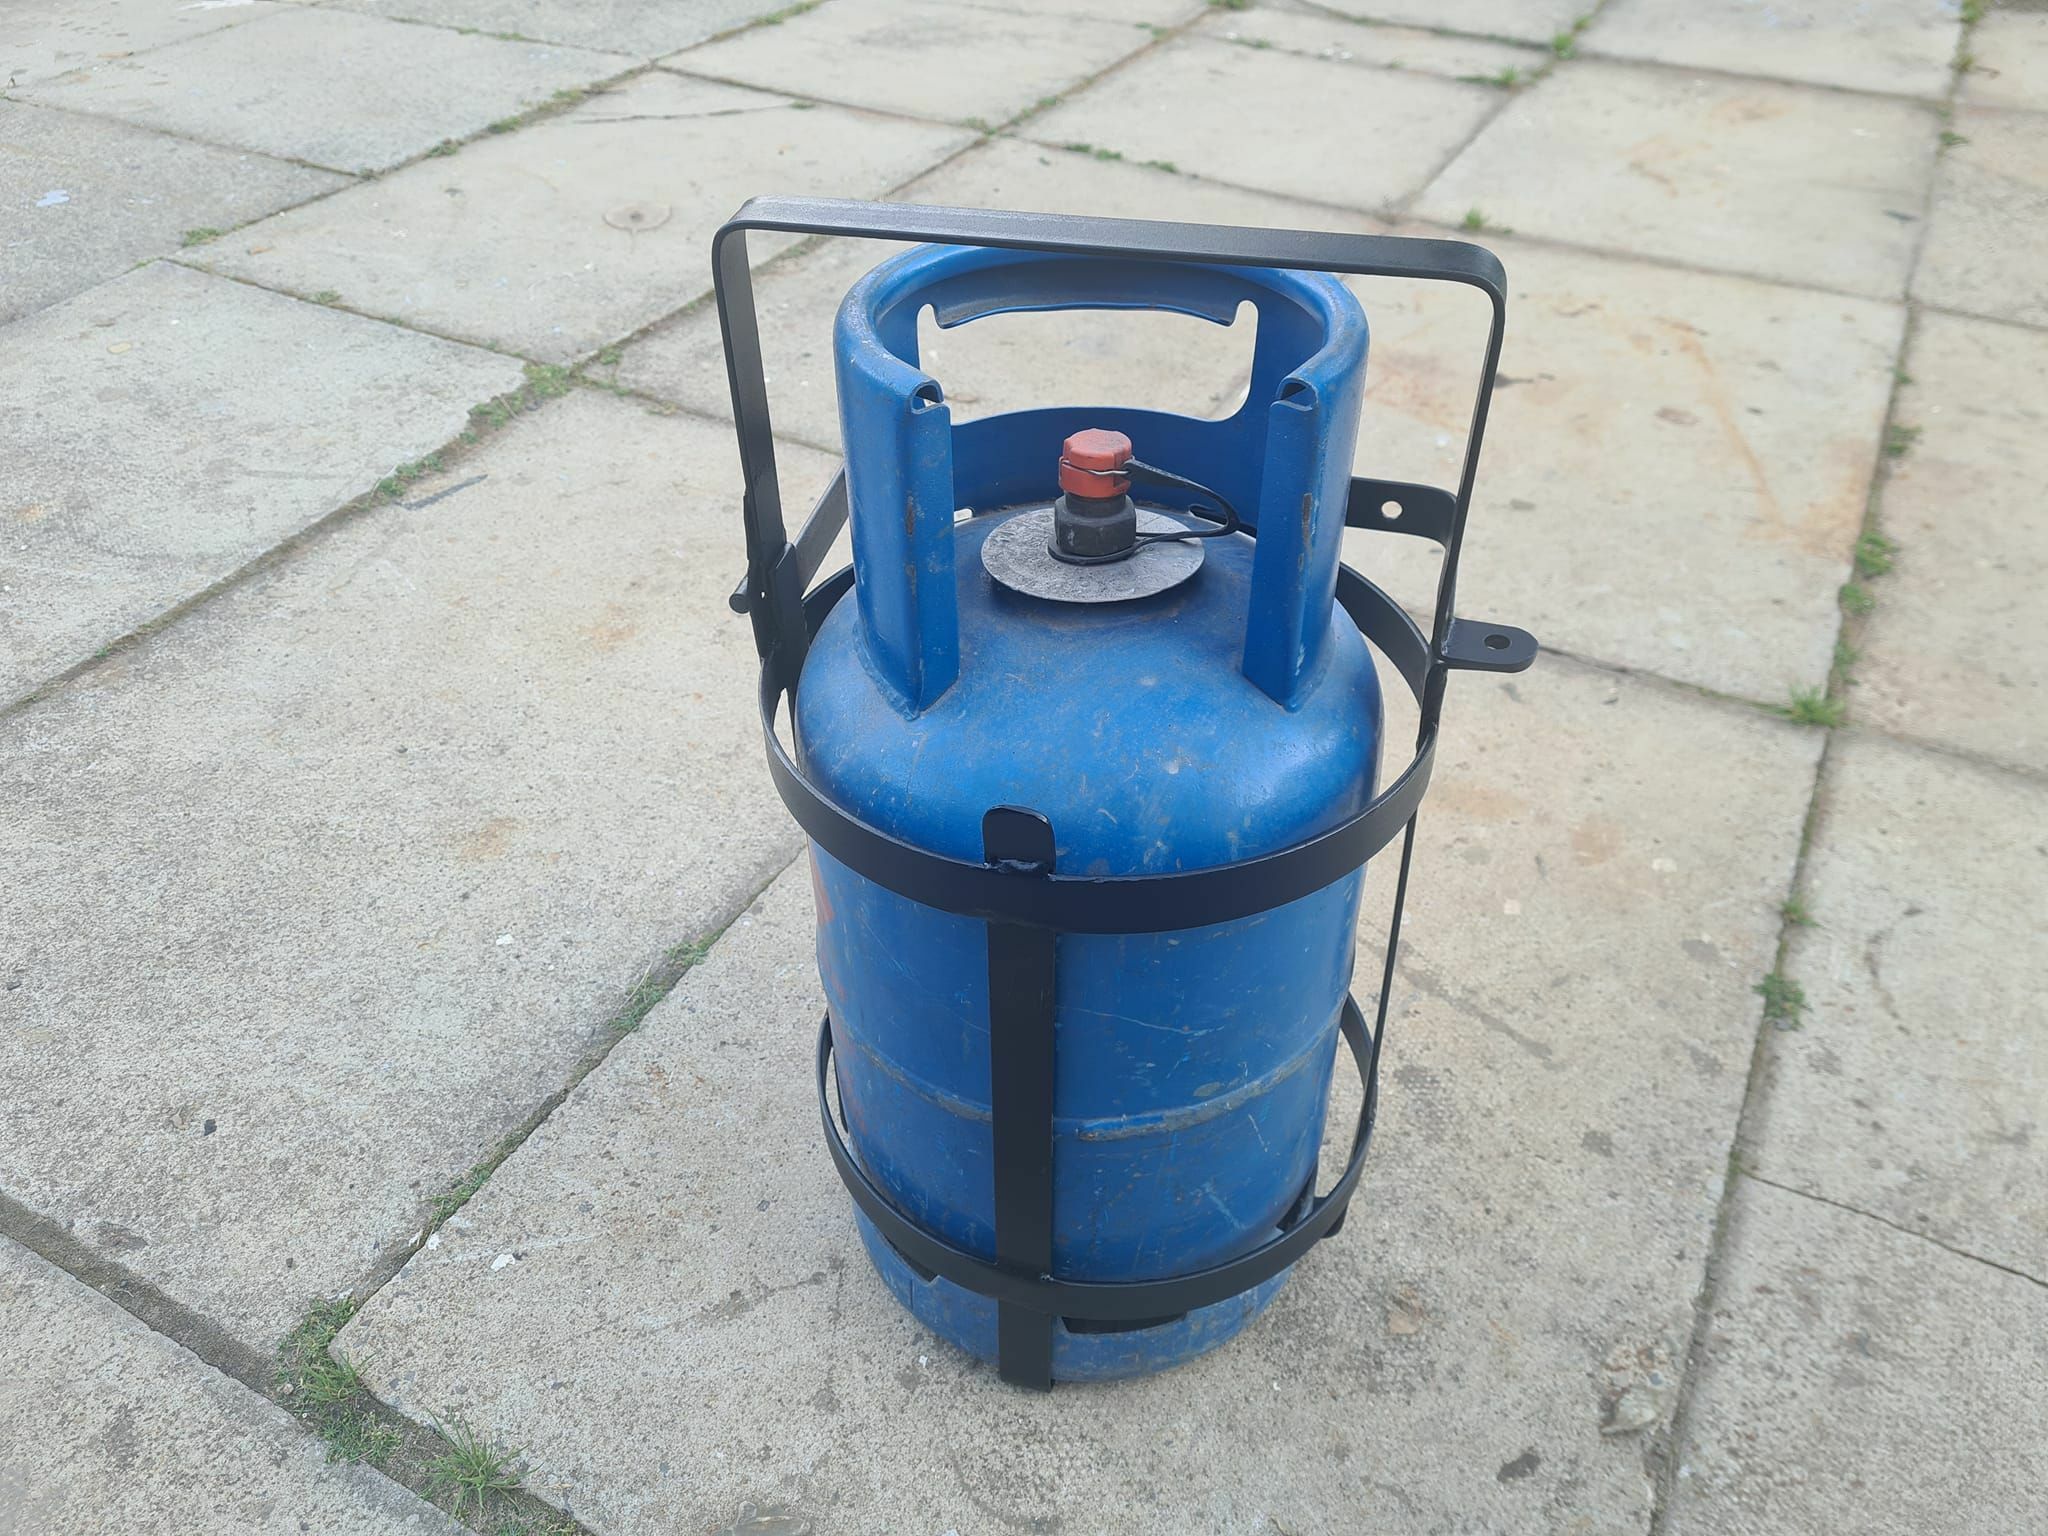
Are these of any interest to folk on here ? These are for 6/7kg type LPG cylinders and bolt to a flat surface. lockable and will come galvanised. Infact i made for a mate the other week for 13kg cylinders. bit different. things i do when passing time int shed

-

Replacement windows frames including cockpit for Norman 23 boat
W+T replied to Nemlfc's topic in Boat Building & Maintenance
As Tony says. Butyl in cartridge form is easier to ensure a good seal though. I will add though tat they can be a real pain in the arse. so plan ahead and dont rush it if rebuilding them. to get them made its best to call all local marine window makers and get quotes. some will come out some want templates sent to them. if so remove yours and draw around them on thick paper or card. can be a long turnaround though so be prepared to cover the boat with a good tarp. -
its the usual here, a bit of aragance and rudeness all round.
-
think the OP has done one.
-
To the OP Now as you can see i have done my own boat. The Buckingham 20,, to rebuild that cost maybe £6k inc a few needed tools. not much though. that was for a 20 footer to a not bad standard. Infact i sold that to a couple who still live that some 3 years ago now. Leviathon and Liz, well she is great but was hard work to understand at first the cost and how things work on boats so it took us some toing and froing to sort the boat out plan wise as even a 32 foot boat is small to get stuff in. It took a lot of money and time as it was a shell when i started on it. Those boats are better than a DC 32 though. well worth the extra effort and investment than a DC. if you want a figure i can help out to give you and idea on works costs for things to be done by yourself. to get somebody in. like i did for folk you can tripple and mor etha cost to get work done.
-
Did i hear my name being ,mentiond haha I rebuilt Leviathon aswell and my Buckingham yes chaps. I see its all as exciting as usual here.
-
just a bit gong on lol. glad to say i have actually built my shed i have always wanted. got the lathe and mill and all the gubbins for it. i call it My Sanity haha i made a good amount of these and sold loads. and a stove as its bleedin cold in there lol
-
Got this for a read if interested, mite motivate me a bit lets see, i have been faffing with the diesel heater and where to stick it. I was going to fit it in the engine bay at first, to get the inlets and outlets where i want them was a pain due to the main fuel tank and where to fit the fuel tank for it. So in the end, and as it is wasted space i have fitted the heater unit under a locker in the main cabin. Just a matter to cut out an access hatch in the base. All that area under that seat base was wasted. but for the far right has an small opening for the depth and speed transducers. Still deciding on where to route the combustion lines, either behind the far panel you see with the single hole or trough what will be the new battery locker with the inlet for the heater ducting. . I was lucky enough to find a bit of stainless steel in the shed to make a mount for the heater to mount to the underside of the seat locker. Had to strip the unit down though as it is a combined heater unit that i had used for the shed. You will see it is a 4 outlet jobby, i want a single out let at the minute so will be getting a new single outlet fitting. . This where it will be fitting, good room for the pipe work, combustion outlet will be wrapped so temps will be take care of, as always do as i go. So i will sort that when i get to it. Oh yes, as common sense goes my didnt kick in at first, like to make life hard i see now ha ha I removed the table pedestal to gain easier access to te heater locker, about time, needed to see how wet the foam is under the GRP soul. There was water in there where the post was in from the pedestal so i dried it out with a bit of sponge and i was expecting it to fill back up soon after. If water gets in it and spreads a lot then it can get there. After 7 days though no water has flowed back in. Which i can say i am happy about as i am not into removing all the soul to rip out all the foam etc etc etc. just a matter to mark out the holes etc to fit the eater inplace and there we go. Ah well, i drilled one hole out of line. be reat and there we go, to bend it as it is 3mm and not got a press brake yet lol, just do a few runs with a plasma cutting disc and bend it, then another run a few mm at a time untill it gets the angle needed. in temp situ Tucked up high and as safe to get the combustion pipes room. Exciting times I have been messed about BIG time by a local so called respected canopy maker. After 11 months and being let down many times i decided to jack in waiting for him to do it. he was well priced but good, well you know. It has cost me a bloody fortune towards the timewaster but i feel better with the new maker and saving money, paying less isnt going to get it done, So Canvasman near Leeds. sounds very professional and the boat is all booked in ( drop off 1st September, THIS year ) , i am taking it to them to be done at is saves me £700, and they are only an hour away. Now main job now is to sort the trailer out. When i towed the bat back when i got it a pillock pulled out in front of me and i heard a large thump/bang and then the car shunted forward. Good job i am quick as applied more break and the Shoggy stopped it with ease, thank god. Goes to show, maintain the trailers people as this happend. I stripped the hitch after hours of spannering/banging/cutting. To find a all bolts had seized, handbrake handle snapped. And worse still te damper had snapped, so that is what made the bang wen i braked hard. So tonight i have ordered new damper, boot, handbrake energy store as that is seized also, and got a secondhand handbrake at a bargain £25 instead of £110. somethings work out The jockey wheel was goosed, but i fixed that as the first thread on the worm gear was dodgy so real tight, just stripped it and got the Dremmel to clean the thread back and greased up and all good now. Another saving, which is much needed now after the canopy situation. I have bits to do this weekend so ill be back i hope soon. Water tank to finish off, see about the new bulkhead asap. I would like to get that done before it goes away for a couple of months, but alteast when it comes home i can work under cover on the bulkhead and engine bay in time for winter. . When i got the boat/trailer seller said the brakes had been rebuilt, which happy to say they do look like it. Front axle studs are long on both side, rear axle one side just long enough, the other side way to short. , front axle front wheel Rear axle rear wheel, about 10mm short so ordered a 50mm set. left front, right rear Same drums/hubs on front and rear axle aswell. studs look to never of been messed with either. maybe replaced hubs in the past, who knows. Well all looks good and moving with T yanking on the cable anyway lol. So glad all is good, dont come cheap these parts. and tyres also are dam good. Just gave the drums and shoes a bit of a light rub down and clean so all good to go once parts fitted and set up properly . thats about it for today but for also making a new draw bar damper extension, as to tight to pay £30 for a bar with two holes in it lol Good new to me anyway, i drilled two holes in the sole of the cabin to investigate how bad the foam is under it. I know these boats are bad for soggy soles but when i checked over this boat when i was checking over it i jumped poked prodded all over it an dit felt good. i would not of bought it otherwise as its a big job to strip a boat out and redo the sole. Just the bottom 10mm or so is damp, not wet/soggy stearn where it would be more wet tahn bow . dam cant find the dug out picture but you get what i mean. So while there faffing about i fitted the new lid to the water tank. and scrapped the front cabin walls from the old foam lined foam backing that was left. so front cabin is sort of done ready for the cosmetics. I wanted to use new screw holes for the tank lid so marked out for new ones and used butyl tape to seal it, ill fill it in a day or so while it settles in and test it again. I forgot about the level indicator i want to fit but ill do that another time now. It be reat as it will just be a little dust getting in the tank from cutting the hole. And the osmosis, be reat Hopefully all sealed Very little to scrape back, took about 15 mins We will be relining with four way stretch carpet. Just to the bottom of the windows though i think. Found a stow away aswel tucked up in the bow lol As i feel the front cabin is in a way sorted and all ready for cosmetics i want to sort the fuse box in the heads. I was going to move it from here to here around where the coat hooks are. Near all the cables will reach aswell and there isnt much in the fuse box. It is either move it or keep it these but fit better fuse boxs and buzz bars fitted. The porta loo mite just fit below it, i will try it out later and see. I was going to remove the sea loo inlet/outlet, ill keep them just incase for the future, there not in the way. sorry about the dam side on pics, not a clue whats happening there. All in its been a good day, not much done but feel got somewhere.
-
Hi Rach, hope your well. Afraid it was for sale. I havnt been good for a while and wasnt getting any better. That lead to loss of motivation sorry to say. I have had so many halfwits/morons and dreamers asking and wasting time its still here and not been touched. Is that a bad thing, i am not sure. Over last month ort so i have been tat feeling to faff about with it again. Health has got a bit better but need surgery i think on finger/s and infact going tomorrow to the hospital to see what they can/will do, bad tendons. Shoulders are getting better though. I had the boat in for a new canopy aswell where i lost a good amount of money as i took it back with work done. At the minute its all covered up for winter so i am thinking on getting stated again in spring. There is stuff i can do now like carry on sorting the outdrives out and rebuilding the other engine. Its feeling good so i reckon it is straying.
-
Hi there. So, what a blast from te past and good to see the boat again, all though its looking worse for ware. I have been intouch with Vincent. he found me by phone somehow. Anyway, i have been looking for old pictures of the boat but i no, longer have any but for what on the internet. I am trying to find the index number but back then it was under BW as it was 2010 when it got its BSS so not long after it got is index number.I dont know if CRT used/use BW numbers. CRT are no help as Vincent has been in touch with them.
-
I went to work today felt sick, felt as rough as death warmed up infact, so went back to bed then got up at dinner and played out ( honestly i was not well ) So i thought an easy job, so i pressure tested the fuel tank, Found a of cut of 50mm bar to bung the end of the filler opening with the help of some radiator hose. Then got my cheap tyre inflator, cut the tyre vavle adaptor off and connected that to the fuel off take. Bunged up the breather with a bit of water pipe and bar And hey presto, lets go blow myself up as i cant measure as low as 5psi as it starts at that. so took a guess lol. Just put enough in so a little less that 5psi which will be enough for this. 1/4 filled with water so easier to see low down leaks All fitted seem ok so now ill leave it for a few days and see if the tank gets an softer if you know what i mean, not in tension and any wet spots anywhere. BTW, its not stainless steel, its Aluminum tank. wondered why it was so light ha ha I dont know how folk do it, or dont do it. I sold a GRP boat canopy to a chap, had it sent by courier, Tuffnells. The canopy is 170cm x 115 cm x 20 xm. so not small. They have lost it , god knows how. I bought a part rebuilt block for the next engine from Coastal Rides, last week. Buzzing as it WOULD of saved me rebuilding one i have. I say `would` as they sent me the wrong engine. Ok some folk can make mistakes. I called them straightaway to tell them, and then had to wait two days for them to call me to say they cant find the engine block i bought. WTF, they dont seem very professional at all. So now i have took a gamble on a chap that has got one that was a good runner and he bought it for a few bits. Full engine for £180. so no big loss there if its as bad as the ones i have. That should be here next week. Well today i got motivated, once i get going i am good and love it. Not like used to be when i was on it every waking spare hour, still getting there now. Today i rebuilt another pair of carbs and started to clean and check a manifold. And another problem as the ultrasoinc cleaner is playing up and the seller still hasnt been to collect it to repair it. The month that goes by with no cock ups will be amazing. just waiting for paint ti arrive. Got myself a moisture ( love that word Moist dont know why ) meter to see how damp the timber is and its not to bad. This is the bottom of the worst area. above 20% which is to much. but 6inch up and better I have been all around the bulkheads etc except for the main as thats coming out soon once the canopy is fitted. Cut all the areas out that have readings above 10%. These will be sealed with epoxy then new ply fitted inplace. The rest is in good order so i decided nt to rip it all out. Why make more work than needed. That bottom timber will dry out quicker now. small patch needed The heads is a bit rough so ripped it all out. well it was needed, no chance on keeping that in The lower damp left area is 6mm ply, and the rest is 6mm veneered 12mm ply. Looks better already Reckon ill remove and patch up these non used stopcocks. Oh yes, another disaster a week or so ago. I like to research all new gear i buy. Now i want a Tubela pipe bender but costly at £1200 with a couple of dies so for now i got a cheapo chinses tat. All looked good on YT videos and reviews. Yes it did a great jb for the first maybe dozen bends. Great hey, for £100 its good. So as the canopy is being made ( at long last after a 10 month wait ) in a few weeks i needed to make the new rails for the stern. The original wooden ones have sharp edges and make hard waring on the canopy. so i knocked these up I managed to bend them to keep the original mount points to save drill more holes Sorry to say though there scrappers . The bender as said lasted maybe a dozen bends. this was while i was making the bender better as the pipe clamp needed to be smoothed out a lot to prevent it leaves dents in the tube. So these rials have a bad crease around the corners due to the die and pivot waring out. Well P`d off i was. I hope to be getting another sent to me soon. A UK seller but from shanghai, they tried to fob me off with a 45 day wait for delivery when i got this on three days....we will see. I have a good bit more in tomorrow so more to come
-
As its not costly a si have the materials i got on with the transom. When i removed the transom plate there was a good few SS screws snapped off, so only way to fix that was to grind them back and epoxy fill them, aswell as the rest of the holes. The transom is all good, so as few suggested an owner must of had the plate fitted to save more transom damage in the future. So tapered out the hole and ground out the studs left behind. Wet out the holes then used the usual Epoxy and 407 ( i think i forget now which filler ) Easy job really and chilling out job. On the transom top gunnel where the nav light was i will be having access from the bathing deck i will be making so them holes can be filled aswell. sorry as usual i loose a picture of it finished but you get the idea from the other, fill and fair in. And more second time around. I am thinking an owner fitted the plate as couldnt be bothered to fettle the scratches so cover them up. Ill finish them off tomorrow and fair back and see if more needs doing. This thing is coming out now. I cant see the point in it really unless you have a lot of water down blow and need to drain the bilge before towing. , never had one before on any boat but a dinghy. That will take some filling, thick transom this. Why do the designers make things so hard to get at. This rail has fairly good access for all stanchion bolts but for one base where there just isnt any without removing the rear deck. Before i remove it though i need to alter the wooden top as the corners stick out to far and will rub the canopy as you mite see here So in red i can make a new section and let if follow the boat profile, or in blue make a new stanchion for the back rail to support the end and leave the corner rail open. Ill decide over time. And to finish the day as tired i was sick of seeing the big gash in the side so as i had the sander out slapped on a 120g disc and went at it. And after a few minutes its fine, just a bit of primer and then paint, it feathered in right good. So rest of the hull just needs a sand to prep for new paint. And the below water line is good aswell, give it a scrub and AF it. It did go down to the GRP so a bit of high build primer will be reat. no to bad a day really And today efforts in Faffers boat yard Decision is made i will be making a new rear rail from 22mm SS, going to get one of these benders, they are good for the money and after researching them thye do a good job VEVOR Steel Pipe Tube Bender Manual Bending Machine 10/12/14/16/19/22/25mm 7Dies 278716893005 | eBay I need to get that made asap really before the canopy is sized up as the canopy will be touching it as before. Now today i finished another window for fitting next week and then cracked on removing the rear deck so i can get to the tank and last rail stanchion nuts. Getting this deck out was a reat faff about. not looking forward to putting it back in, needs to go back in soon aswell for when they size up the canopy. just be easier i think for them, and safer. I decided to cut the corners out as they did last time I had to drag the boat forward a few meters so i have more room at the back so as before winch post and block n tackle Now for the tank. on doing this i see the timber crossmember is a little rotten in the middle so thats going to replaced, rest is good. the bearers unscrewed dead easy, infact no real problem today which made a change. With out a gantry i would not be managing this on my own nowadays. It isnt as heavy as i thought aswell. I have not measured the tank yet but it is supposed to be 60 gallon. looks about it. Just glad it is stainless steel though so no need to repalce that, just a clean up. Left it at this stage for today. Next is to look at the bulkhead in readyness to make a new one. Instead of plywood i am thinking on a Carbon Fibre one with a weave but not yet chosen one, but i like the large weave type. This will be a foam sandwich with standard grp internal and just a carbon out skin over csm. do like this if not just usual plywood.
-
Al[points are critical ha ha, i am now onto trying to sort the canopy out as been messed about and let down for 10 months so i am going eslewhere and its costing twice as much now. It was to be done by an acquaintance. Today i have done some work on the trailer to get it ready as it needs a few new parts to be safe.. As said previously, i dont know, all i did was remove HT leads, double checked it all over and refitted them and then all great a sin video. I may well of fitted te HT leads in wrong order but it would of still fired a cylinder or two. All good though as seen in Vid. Some pics for those that dont do videos Today didnt go as well i hoped, or as thought it would of. This block was the better of the two i had out of the boat. I have a couple of good heads here so i decided to see how good/bad the block, and head is instead of jumping in and getting it all machined, no point if they dint need it. I first wanted them in the build area i had planned for a while so moved them over on new stands to work on. Lucky i got a couple of engine supports in the pile of spares with the other engine so just had to make the mounts. To find them for sale in like rocky horse doo dar, and when you do you dont want to pay it. just 5mm plate i had lying around. god dam i wish the boat yard was a level ground ha ha, not easy moving an engine crane and engines about over that lot. this is why i hate throwing stuff out, had this 4x2 lying around for over ayear now. all in place ready All i need is the head fitting and bits to check the compression so chose the best head. Well from they look like. The block isnt the best but will still show what i need to know I actually guessed or knew what the outcome would be but at times i try to ignore it and need the proof to see i am right. Which was that the 4th and 3rd are knackered and need a rebore. I have one of the cheap compression test kits which are good enough for what i need. These are the readings, the ones in black are of the other good engine, so all in good tolerance of each other. The red ones are this block. Top dry test, second wet test and third the difference. Not good So atleast a block rebore and skim. Head i will see more but seems good as is at the minute. Oh yes and also today i got a mould sorted to make helms, ill show ,more of that this weekend maybe if they come out ok.
-
so many folk have asked me about project over the years and some say it cant be hard, cant take long etc etc. I talk to them about things that need to be taken into consideration and costs. So many end up either not getting one or the others get one and i see the boat for sale a few months to a year later. Some keep going for years after and when wee chat again they say how much work it is and costs build up quick. And these are for small cruisers generally around 20- 30 foot. I do it for the love of faffing about and they joy to get boating again. This though may well be my last project a sits killing me ha ha
-
As engine is running i have got on rebuilding the other carburettors. And as i cant make an ultrasonic cleaner i bought one. Just the biggest i cold afford so it can fit the carb`s in it and other stuff aswell. It does a good job but not as good as i expected. I tried the carburettor solution that came with it and also a white vinegar solution which i wont be dong again, the whole house stunk of vinegar for a day or so. Last solution i just used hot water and a good squirt of washing liquid. Before After a good blast in the cleaner. I was going to be lazy and fit it all back together now, why i ask myself after all this and for the engine still to look tatty. So i have removed all other bit, well the oil cooler and few bit and they will be cleaned up along with all coolant pipe work. What has got me wondering who has been messing with these carb`s is that one had a bolt stuck in a hole, that should of been for adjustment and this aluminum gasket for the diaphragm. Back in the day i had cars with twin SU carb`s on and for the life of me i couldnt tune them up to well. hope these are easier. I believe they are difficult but i have put them back together as they came apart and all screws have been screwed back in the same threads in. So off shopping now for VP red paint and black This weekend i have added 200mm to the gantry height so it will be easier to move over the boat when it has lifted the boat off the trailer. This is how it was, it had less than an inch to clear the bridge top. So just extended the legs a bit. I mite add a brace along the bottom of the legs, but then its only lifting and not rolling with a heavy load on. Sounds dodgy but be reat Plenty of room now....i hope. These little sods are what is few left of the deck fittings to be removed for rechroming. These vents are fixed using machine screw tapped into the 8mm GRP superstructure and in well, well the very last screw will not but so ill be trying the set of damaged screw removers, never used them before so its time to see fi the work. And to get them off is to cut out a section of the internal skin to get to the nuts. Not a bad thing as there under the gunnel and can be fixed back inplace. I have said and will again,m the best tool of all the gear i have is the Multitools. Makes life so much easier. Hate to think about having to get in some places to do jobs without one. So then i had to get the back panel off the galley top. Hey just a couple of taps in th way at one end. Ye right. no way could i get to the nuts underneath to remove the taps. So out come Garry the Grinder Things you have to do ha ha. Good job its being replaced. So it looks a mess as always in this time of a project. i have kept all the panels to use as templates for new ones to be made. I am going white/grey colour scheme. Oh yes still bloody waiting on the canopy to be made, been 10 months now i reckon. Good job no rush although need it now as i want to sort the bulkhead out this year and its a big job, the biggest. Hope to show the sexy looking engine next update, god i love a real engine with twin carbs C Faffer
-
Can you see the video of it running ? just wondering.
-
as you can see in the video ? its running now. I removed all HT leads and refitted them and it fired straight up.
-
well got it all set up, starter, set the plugs and ponts, new HT leads and full battery and fuel. Got a good spark at the plugs and fuel getting through to the cylinders. I did struggle at first to get a spark as i forgot to give power to the coil ha ha, what a pillock. And when i did get the spark and fuel in not even a fart I gave up after a bit and expected the worst so did a cold ( obviously lol ) compression test which came back good. Set it on a test bench ready for this weeknd to try again. comp reading are 145psi/155psi/145psi/145pi so good there. So i replaced the head with one off one of the other carbs i have, that worked but leaked with an old gasket. Therefore i have sent off for a couple mew crab gasket kits for this weekend. I want to get the carbs ultrasonic cleaned aswell. I am looking into this now and if to buy my own cheap type. we will see. all i can do is recheck the gaps for the points and plugs, cnat think why else at the minute why it wont even fire. unless anybody can give me an idea And well, its running. video is a bit naff as priming wasnt working properly.
-
Faffer by name Faffer by nature ha ha Plan was to rebuild the two engines then not, but to gte one runner then rebuild or gte on ei have going etc etc etc etc So..... I spotted this on ebay a week or so ago at £2300 but to much for me and i wanted to rebuild these two i have so i didnt bother to make an offer and forgot about it. Then a mate linked me to it for sale on a Face Ache page and a good bit less so i made an offer and two days after its here. Running it is but needs a front seal replacing which is somewhere in the load of parts that came with it. Arrived home today and found this outside the workshop As said loads of spares, bellhousing, couple of starter motors and alternators, crank shaft and camshaft, gaskets, leads, pistons etc etc etc Thus weekends job will be to check it over fully and get it running, check the compression and what not and go from there. Now all the parts i have with this and the other two engines i have i should get one more good one.
-
so three down eight to go atleast they all slide nice now and look pretty . I tried anoyther way to seal these to the norm and used Puraflaex 40 so hope they dont get broke ha ha I am so tempted to crack on with these engines, still struggling to to see the micrometers but hospital tomorrow and see what they can do, well say, You would not believe how happy i am just to get these three windows in T is a diamond as i always say. If it wasnt for her this would not be done. She had the inside to work on fitting the washer and nuts while e i tightend up outside. a few ares i over tightened which peeed me off a bit. I still need to trim back the Butyl but atleast there sealed and pen nicely once again. I just wish i didnt try new things, i used this `easy` removal tape when i removed the windows so i could cover them with poly sheeting., hell it is not `easy` to remove. tooks hours to remove with heat gun and acetone. I was lucky enough to find the Pink Stuff i got ages ago so to make it easy to clean up the cabin to the windows edge once the windows are fitted. So cleaned up well all frames with Acetone and fitted the Butyl tape. cracking stuff in both tape and cartridge form. I need to give them a quick polish/clean ip again once i have trimmed back the butyl from the edge. The canopy should be made and fitted in a month or so which i will glad of as it been near 8 moths in the wait and i think i have found the leak in the cabin. So once that is fitted it will tell me if i am right or not. Hope to god i am. this has got me motivated a bit more now
-
Hi kida, I looked into Puraflex 40 ages ago and found its close to Sikaflex 291i but not quite but still does a good a job if not better, in the correct use. Between 291i and CT1 i will always go to Puraflex. I am gutted about the mooring we ad at Port Dinorwic and having to let it go, perfect spot for us. Not to far to travel and cost wise all round easy affordable. but hey ho, maybe one season ill try again and get the same outer line of moorings. Ours was 4th mooring from the left furthest away. But yes, being back on the Lancaster will be ok, subject to the bridge heights, it will be close and loads of bridges on the Lancaster, Khashoggi was close at 7 foot draught. . And well, plenty to come on the build