Tiboo
-
Posts
39 -
Joined
-
Last visited
Content Type
Profiles
Forums
Events
Gallery
Blogs
Store
Everything posted by Tiboo
-
I decreased the price to £40k when I found out 4mm was uncommon, but not sold for the moment. Almost all interested buyers are new to boating. They're first very interested and then they do some online research about 4mm plating and get scared. You often find online that all insurers require min. 4mm, which is simply not true. That's also why I want to put things right here. I'm confident about my price now though!
-
I also wanted to share my findings on insurance options, which could save some time for others. I contacted only a few insurance companies. These say they require a 4mm minimum hull thickness: -GJW Direct (they say so, yet they accepted my hull survey last year, with readings down to 3,7mm) -Westfield (I think!) -Towergate These insurers have no minimum hull thickness requirement: -Ripe insurance -Mercia Marine -Craft insure
-
I just wanted to follow up on this thread, to react on the "Dangers of overplating" document, to correct things and to provide important nuances which may be of help for people in a similar situation. I'm not going to comment on overplating of existing doublers, which is of secondary concern. On the proposal to instead "crop out the defective steel", I would say this is more concerning since the inner side of the plates are then certainly exposed to humidity from the inside. All the more in the case of side-plating, considering the "pocket" created at the lower end of the new plate, which will allow condensation to accumulate. Moreover, it will creep between the plates as the welding is not done on the inside. Corrosion at this location is to be avoided because the expanding forces could break the weld over time. Next, there seems to be a misconception on the production of corrosion. "The corrosion process requires the simultaneous presence of water and oxygen. In the absence of either, corrosion does not occur." Once all available oxygen and/or water have been converted to rust the process will stop. It is not acceptable that such important errors are made in an "MIIMS approved document". It further puts other claims made in that document in doubt. Professional marine welders are used to weld boats together, which clearly are not leaking! So, there really is no higher likelihood that such professionally installed overplating would have faults. The space behind such plating is hermetically sealed. Only any potential humidity present at the time of the job could produce a small amount of rust. In the case of humidity behind paintwork, this could be an issue because small quantities can be enough to crack the paint and create an inlet for new water. ("Rust ... occupies approximately six times the volume of the original material"). This is not the case for professionally mounted overplating. Yes, if the original plating is rusting through from the inside, but (when) would that happen? Usually overplating is installed because of heavy corrosion with pitting on the outside. Once that process has been halted with the overplating, it is unlikely that e.g. a remaining 2,5mm in pits will get rusted through from the inside out. I agree that back filling the pits with welding would be a great alternative, but in cases of heavy corrosion I understand overplating is a more viable option. Regarding the impact on draft. This should be looked at case-by-case. Steel is 8x heavier than water, so the calculation can be easily made with Archimedes' principle: 8x the volume of overplated steel needs to be replaced by contained underwater-level air. E.g. in my case with both sides overplated in 4mm: 8*(2*20m x 0,004m x 0,7m) = 0,896m3. To displace this volume by draft increase, the vessel's surface area of ~20m*2m=40m2 needs to lower 0,896m3/40m2 = 0,024m, or 2,4cm. That is still very reasonable. The practice of "centre plate plug welds" instead of only edge welds is common on big crafts with big sections of overplating. I could imagine this to be of consideration for bottom-plate overplating on wide-beams and perhaps on narrowboats but it certainly sounds overkill to me to do this on side plating on canal boats! Holding a PhD in acoustics, I can say that "propellor excited vibration" is as likely to cause cracking in welding on any other plating than overplating: very unlikely. Often paperwork is present about overplating works carried out. It would be good for people to check on this. In my case a CD-R was provided with pictures and an official marine document, e.g. stating that the hull was grit-blasted prior to the works. All in all, it is regrettable that such a worry-inciting document is shared online, affecting many cases which don't deserve this. I hope I'm providing a necessary counterweight to this here. I find it would be more appropriate to create a document about "the dangers of bituminous paint on steel craft" - but that's another topic!
-
Temporary hanging anodes: connection vs protection location
Tiboo replied to Tiboo's topic in Boat Building & Maintenance
Well, thanks for the feedback so far, that's helpful! Thanks @Tracy D'arth sounds like I won't go for that strapping technique then! Maybe just hanging 1kg ones. @Alan de Enfield I'm only trying to get around recommendations of surveyors that don't seem to make sense. @dmr I tried pointing that out to them exactly like that actually, no success, not even to delay the requirement for 1 year :~/. And yep, I'm familiar with the deliberate mistakes rule, I write papers too :~). Lol!! "Insurance men rule the world but surveyors are their partners in crime." By the way, any idea if insurance companies would require these works to be done by a marina, or is it ok if I get a detailed invoice of a boating engineer/handyman? -
Temporary hanging anodes: connection vs protection location
Tiboo replied to Tiboo's topic in Boat Building & Maintenance
Ha, which is the case! Come on, this is ridiculous! Is there any way to waive this surveyor's recommendation towards the insurance company, other than doing another survey!? -
In the process of selling my narrowboat, the surveyor commented there would be need for 1 more anode on each side. Indeed, I noticed there is 1 location where the distance between them is inferior to 5m: 6,8m. While I personally don't really bother, the insurance company I found wants these comments sorted :~/ (and for the moment I found just 2 insurance companies that were ok with the 4mm overplating - see my previous thread!). I don't feel like craning out my boat for a couple of anodes at the moment so I'm considering hanging them temporarily, until it gets craned out for blacking, when they could be welded on. I'm thinking to strap them, spanning the hull from one gunnel to the other. (I'd use some rubber around sharp parts of the anodes to avoid them scratching the paint off.) On the gunnel I have these brass attachment points for fenders, which I'm sure will also work well to electrically hook up the anodes. Now, if you're still as enthusiastic as I am at this point, my question is: where is the anode actually protecting the hull? Is it a radius of about 2,5m around the anode, or around the electric connection to the hull..!? (If the latter is true; there won't be much hull protection if they're attached to the rail on the roof, as someone was considering in another thread.)
-
@Alan de Enfield I've read your document entirely, it's quite interesting, thanks. Given the serious concerns you have regarding overplating, would you say surveyors should include this in their reports? I just wonder, because I feel disappointed as my surveyor hasn't informed me about it, when I bought my boat.
-
Thanks for your thoughts Alan. Interesting.
-
I'm in the process of selling my narrowboat and a recent survey of potential buyers reveals "bad steel" used for the overplating: 4mm plates were used... (with readings between 3.5 and 3.9 mm). My surveyor at the time I bought it (2017) didn't flag this to me, and I (assuming I could count on an IIMS surveyor) wasn't aware of this being an issue potentially. Also the report of the previous owners (2013), didn't mention this as an issue and formulated the boat to be "in good condition" and it "should present a normal risk for insurance purposes". I've got the sides epoxy painted, which, as I understand it (e.g. from this earlier thread: ), should protect the plates very well. But it seems it may be an issue to find an insurance for it..? I'm now insured with GJW direct. When they asked me for a survey report when the boat turned 30 years old last year, they were all fine when I sent them my hull survey with 3.7 to 3.9 readings. In fact, they accorded me time until 2027 before having to do a full survey. Furthermore, as I understand it, insurers are concerned about the risk of sinking. I'd say that a hull where the worst pitting left a 2.6mm hull thickness, and where most side plate waterline and below readings were over 5mm (as per the pre-overplating report), overplated in 4mm, is really far more secure than just a hull of 4mm thickness, not even mentioning the epoxy protection... So, perhaps insurance companies would be willing to take such critical nuances into consideration..? I'm curious to hear your thoughts. Particularly on what insurance options there are currently, and what about convincing them about the points I made..? An obviously related question is: given that I had an agreement with the potential buyers to sell for £43k, with this update now, what do you think would be a fair price for the (65ft ) boat? But I guess it highly depends on the previous question!
-
Humid rockwool - condensation or window leak?
Tiboo replied to Tiboo's topic in Boat Building & Maintenance
Ah, sorry, I should have mentioned: there is no water in the bilges (luckily). Thanks for your helpful comments. Sounds like I should get some of that Captain Tolley's creeping leak cure. -
I noticed the rockwool in the wall in my bathroom is pretty humid, particularly below, where it is almost soaked with water (I only can check in a few spots though). Some of the wooden panelling is getting somewhat wet and some mold is appearing here and there (low on the wall). The issue still appears almost a meter away from the window and I don't notice any leaks around that window frame (it also seems correctly sealed from outside as far as I can see of course). Regarding condensation, I can say the shower is only used once every few weeks and the boat is appropriately ventilated and heated in the evening with a wood stove located ~35ft and a few rooms away. (I don't find any leaks in any water pipes by the way). What would you say is going on?
-
It's just a simple inline tap right at the outlet (there is a similar tap at the inlet below). Regulating it may well have an effect on the relative amount of hot water that's mixed in the mixing valve, so in that sense it could be seen as a sort of control valve I guess yes. The current not-all-that-hot issue I'm describing 2 posts earlier occurs with this tap fully open, sadly.
-
Good point, thanks! It increases the amount of stored hot water available as the 'early mix' avoids a bigger temperature loss that would occur if the hot water were transported directly through the long pipework and mixed to colder at the taps. Makes sense!
-
That would make sense, thanks! I noticed irregular behaviour because the hot water I'm getting out of my taps doesn't reach the hot temperatures I could get some months ago. It would be explained if this valve is regulated according to the hot input only, as the cold input is colder now in winter. Too bad though, because sometimes I'd like to get that very hot water that's just there! I can tap it from the calorifier output directly, but still, I'd have preferred simplicity: no thermo mixing valve!
-
Hi! When I close the tap right at the outlet on top of my calorifier my taps still run water: cold water! It seems that the outlet pipe somewhere in my floor (which I don't really have easy access to unfortunately) is getting mixed with a cold water circuit input again, before going to my taps! Or perhaps something more complicated is going on. I don't see any logic in this. Would you have any idea why this is the case? Or would this be a silly installation mistake? The diagram on this page about domestic water systems (just above "SIMPLE OPERATION") doesn't suggest these complications... http://www.tb-training.co.uk/17Bdomwat.html
-
Wow, well done, thanks! So 6 litres. I'll double-check that with the "upper-limit-pan method". Also, I just checked the dipstick length to that upper-pan level, and I notice this is the point where only the last 1 cm of the dipstick gets. This is a plastic bit that sticks into the metal spiral. I now see how that plastic bit ends in a somewhat awkward way, as if it has broken on.. a potential level marker notched into it... So I guess the rest of the plastic bit (with the lower level marker) has broken off... I think I got enough material to assemble the puzzle now, thanks!
-
It's a spiral would stainless dipstick... no nicks, no cross-hatching. The length looks alright, I assume it's the original but I can't be sure... I just emptied the oil, so it would be the perfect moment to try out the method @Tracy D'arth and @Tony Brooks suggest, but there is no mention in the manual of the required quantity amount of oil :~/. A schematic drawing seems to indicate that the upper limit would be the top part of the "oil pan", which distance I could measure from the upper part of the dip-stick hole to obtain some estimate maximum level...
-
I can't find any markers on my engine's (Mitsubishi K4D) dipstick (I've thoroghly cleaned it etc.)! The manuals I found are not of any further help either, and I don't find much more info online about that engine. Any idea what to do best? Would it be good enough to fill simply up to somewhat above the lower end of the dipstick..?
-
Thanks for all that feedback! Luckily I'm only asking now as if I'd have all those ideas before the job I may have never tried to go for it anyway ;~) Luckily not all the spots have failed, and together with your feedback I think I'm starting to figure out what happened. That's a good question indeed. I'm noticing it's actually NOT on the pitting. I did apply some filler to the pitting though, so that explains, of course! However, the rust issue only appears on the sides and nowhere on the roof, which I painted in the same period but in a somewhat asynchronous timing. I checked some logs I made and noticed there has been some rain half a day after I had applied the Fertan on the sides, which I wiped up and I waited two more dry days before applying the primer. I guess that's where things went wrong!
-
Interesting, thanks! I only painted top coat much after the rain so that shouldn't be the issue I guess. There was some pitting here and there, and I could indeed not always reach those areas so well for descaling, I should have mentioned that. I'm just not sure how to deal with this, would a needle-gun be a must there..?
-
So after a few failed quick paint jobs in July '21 I thought let's get this done properly and I meticulously followed the Craftmaster hints & tips, descaling rust patches thoroughly to bare metal (by hand + power sander), applying & rinsing Fertan, 2x primer, 2x undercoat and 2x top coat (only the top coat was 'International' paint, to preserve the color). Only 4 months later, I noticed little bubbles appearing in the paintwork in several locations. In the first place I'd like to know what went wrong. (1) Would it be because of some rust particles that may have remained even after the thorough descaling? (Can rust grow even with all this paint on top of it?) (2) Would there still have been water particles on the metal after the (recommended) Fertan rinse-off? (Though, I wiped it dry and gave it about half an hour further drying time). (3) Would it be due to the occasional rain that appeared after I had applied the undercoats? (4) Something else? I wonder if I would be better off applying a few epoxy coats + top coat. I haven't got any issues on my hull where I followed this approach (and I had some corrosion around the waterline)... Yet, I'd be very curious about the cause before I re-invest my time and money...
-
Yep, you're right, good to precise... I meant power efficiency indeed.
-
Thanks for the advice! Sounds like I'll not go with it! Ahh, I checked out on absorption fridges, makes sense why it's a "silent" fridge! No good indeed, low efficiency when electrically powered...
-
I came across these 2-way 12V/240V "Smad" fridges on amazon https://www.amazon.co.uk/stores/page/16E952CF-AA97-49E0-B14D-AF8EDCD15DDE?ingress=0&visitId=ce803f5d-af3b-47ed-af30-425e50a2e8ca&ref_=ast_bln They seem to be quite competitive in price with the usual 12V fridges (Inlander, JKF, Swan etc.), with the advantage of the 240V option which would come in handy when on shore power. Does anyone have experience with any of those? It looks suspicious that I can't easily find information about power consumption though. This page seems to suggest bad news on that matter https://refrigeratorreviews.org/index.php/2019/12/06/smad-12v-compact-mini-fridge-quiet-no-noise-refrigerator-with-lock-40l-1-4-cu-ft-black/ "0,8kW/24H" which on 12V would be an average 2,8A/h, which is quite a bit more then the 1,09A/h of the usual 12v fridges... It also states "DC is the auxiliary function, the power consumption is larger than AC". I wonder if that means that there's actually just a small inverter fitted inside!?
-
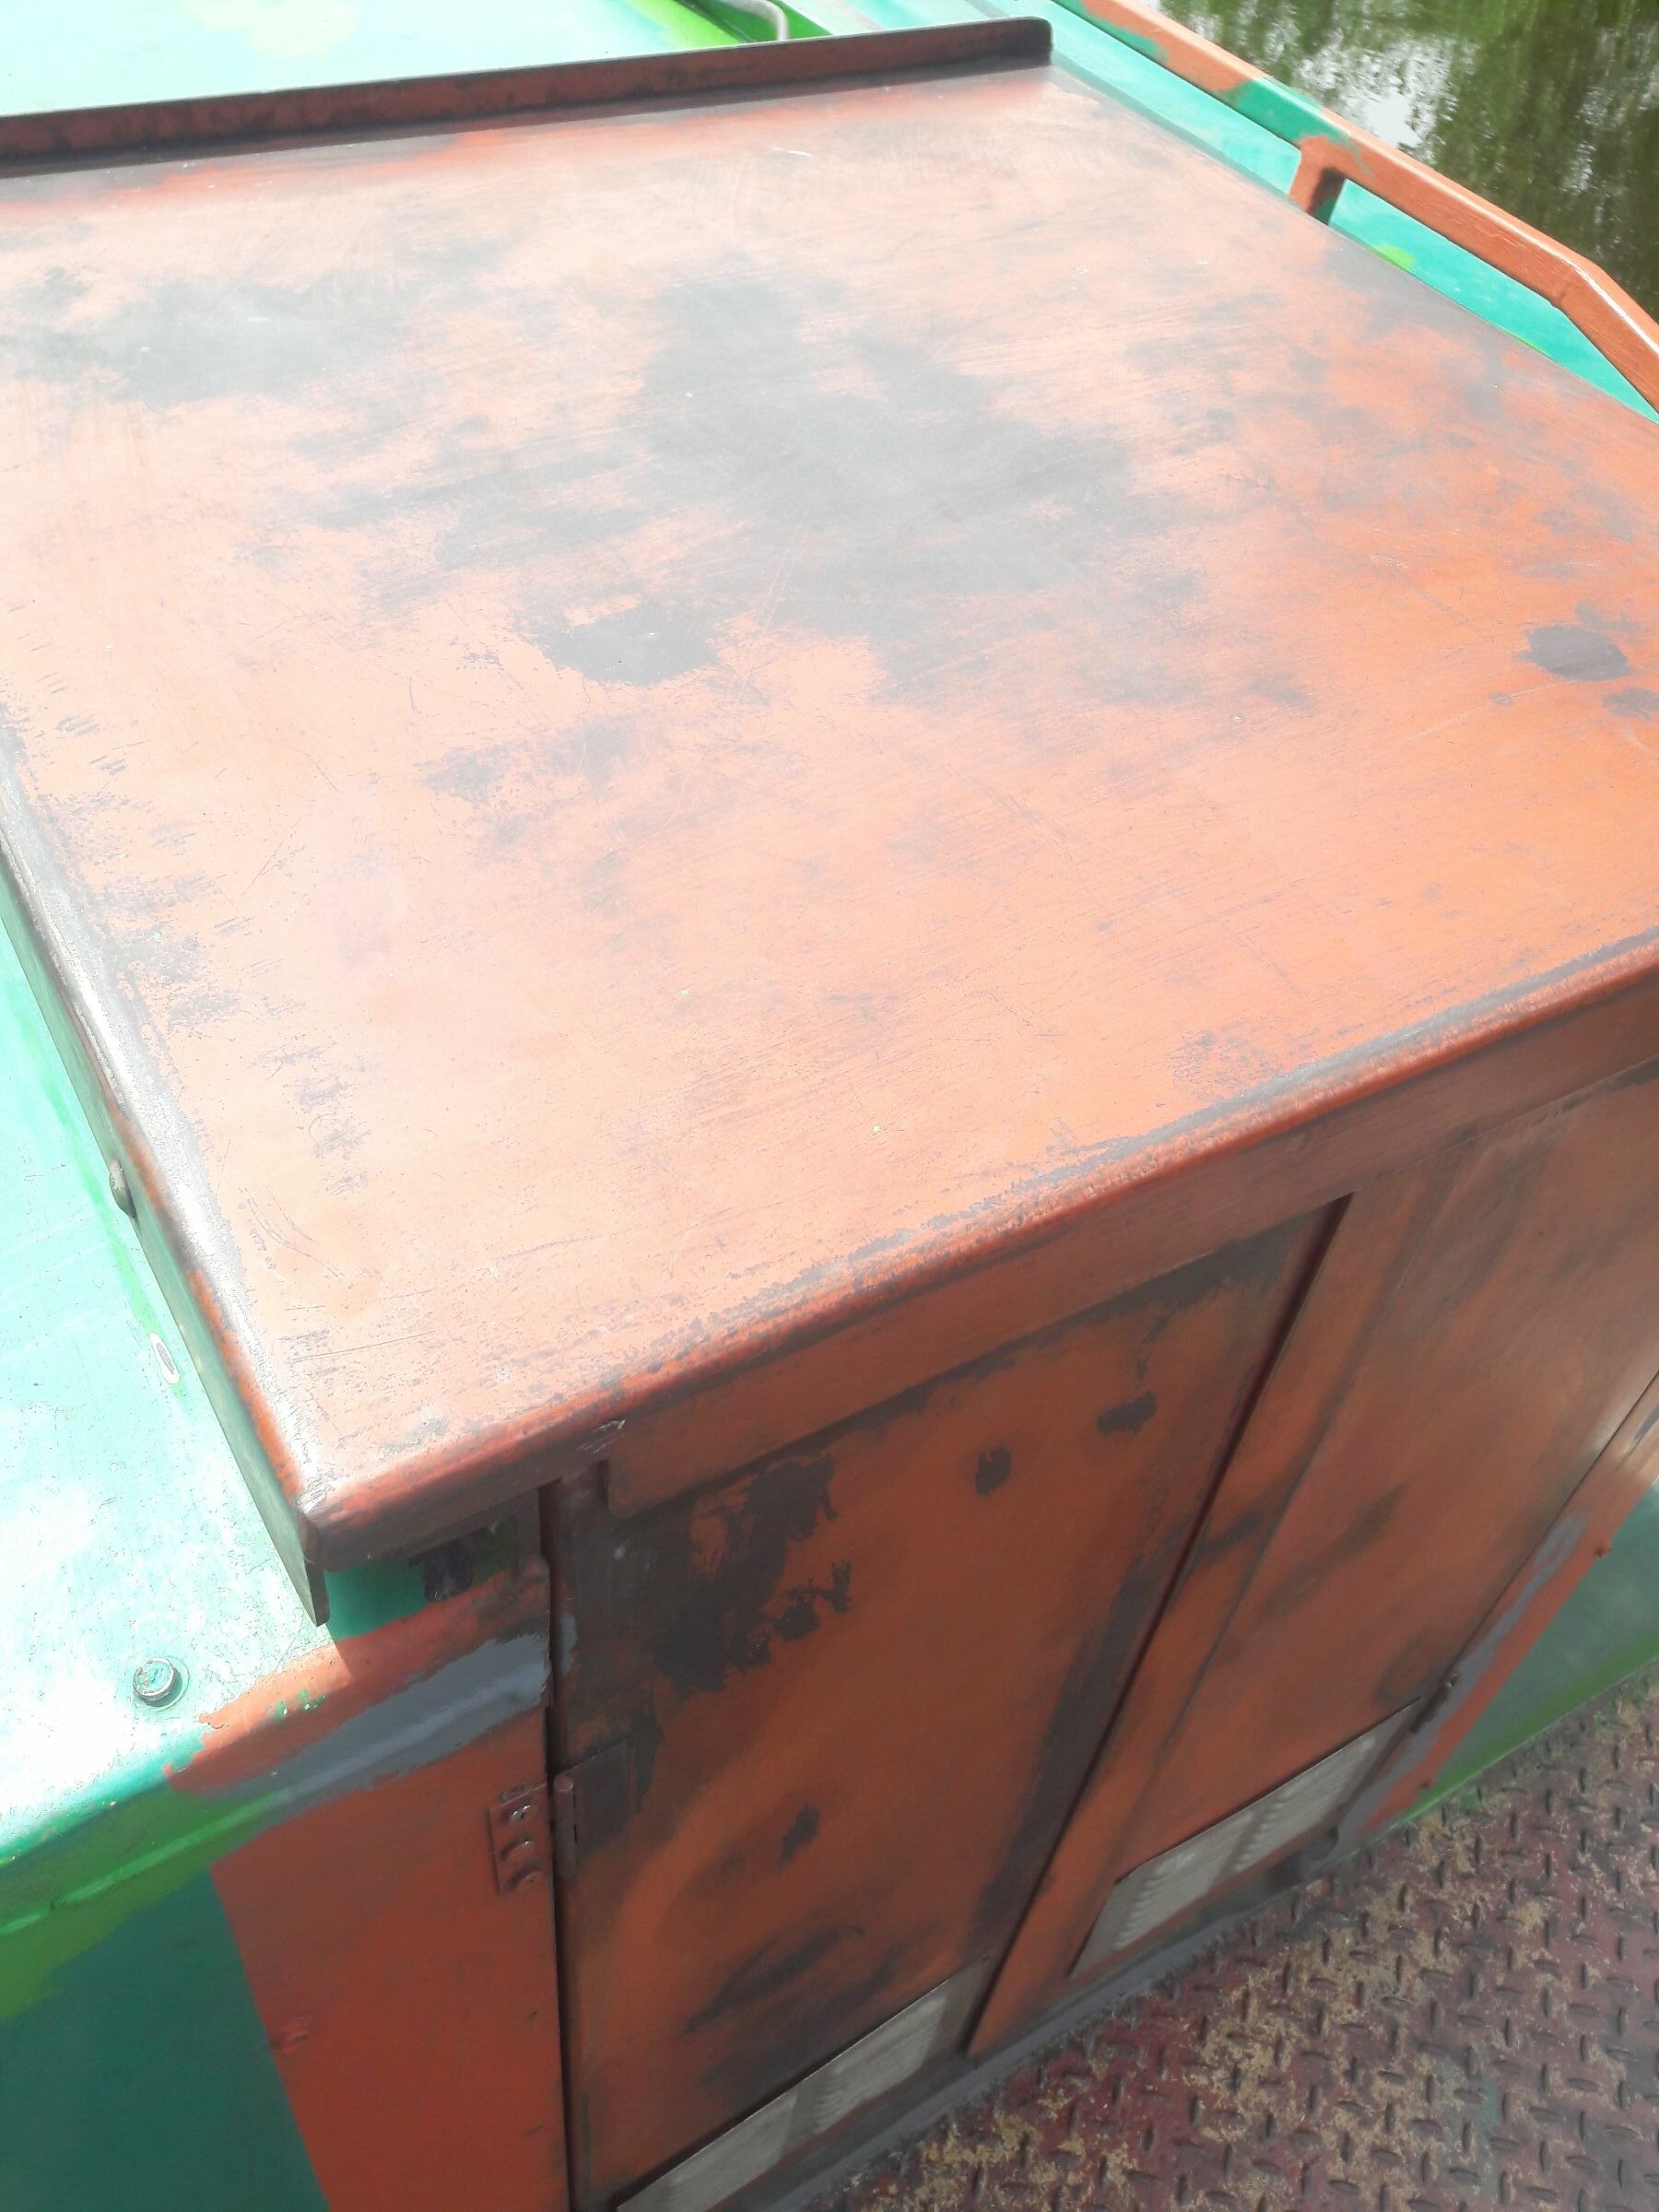
I'm dealing with the rusty spots on my boat, following Craftmaster's approach (6 coats!), but I notice the steel of my doors and roof hatch seems to be different, as there is only a thin layer of rust (the picture shows after sanding and fertan), and it looks like only 1 paint type has been applied. That makes me wonder: is there a less corrosive steel (obviously it's not stainless)..? And if so, should I do the same and apply just a coat or two of red oxide or something..?! Sounds too cheap to be true... I do have spare craftmaster to deal with it if necessary, but I don't want to overdo anything!