
starman
-
Posts
1,950 -
Joined
-
Last visited
Content Type
Profiles
Forums
Events
Gallery
Blogs
Store
Posts posted by starman
-
-
19 hours ago, Tonka said:
What about green and red for a change
Hmm. A bit radical I think.
-
4 hours ago, Machpoint005 said:
It's your boat. Paint it whatever colour you like.
It'll probably end up whatever colour the painting department (Starwoman) likes ?
But it would be interesting to know if many back cabins have been done non-traditionally just for a few ideas. -
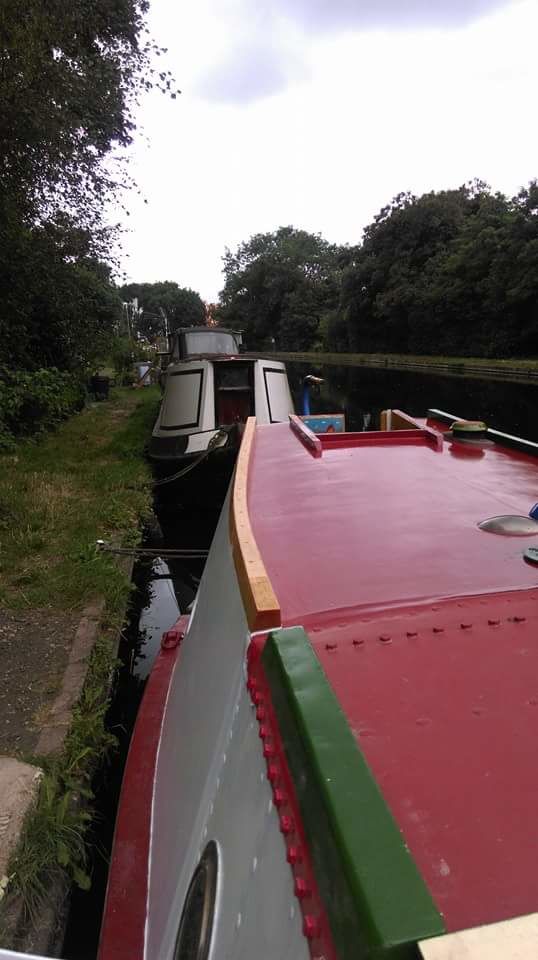
Well here's a question to get the purists' blood pressures up: our daughter came to visit and admire our almost finished back cabin. Looking at it in its white primered state she asked: "are you going to paint it like the last one, all red and green and scumbling (actually I'm afraid she said 'scratching') - can't you do something different?. It looks lovely like this in white."
Well of course we can do whatever we want; it's not a historic boat - it didn't even have a back cabin until we fitted one. But is there any precedent for working boat cabins that aren't red, green and scumbled? The only one I can recall is the simple cream planked and brown cabin in Caggy.
-
1 hour ago, ditchcrawler said:
Not sure what mine is but its brown and heavy.
That'll be tree wood then.
-
1 hour ago, Phoenix_V said:
just match what else is used in that area and put non slip tape on it
Plywood and t&g pine!
32 minutes ago, roland elsdon said:On our butty it was. But I cut it from an old bottom board.
We did not have ash strips. Could not be bothered to scrub them. We had thin ply on top of the oak.
Oak seems to be the favourite - what was the thin ply for?
-
What wood would be suitable? Mounted onto a steel plate base.
-
6 hours ago, WotEver said:
Only suitable if OP is intending to paint it.
Yes indeed.
-
Dare I utter ‘MDF’. You can get the blue water resistant stuff In sheets with tongue and very groove machining. I’ve put wall cladding in two bathrooms using it and it’s still perfect after several years.
And if your boat interior gets wet enough to damage it you’ll have more to worry about than the lining going soggy. -
14 hours ago, Tracy D'arth said:
Make sure it is really dry & seasoned before gluing with 5 minute polyurethane wood glue else it will shrink and show gaps. Wedge it with sticks across the boat while it sets.
Most modern t&g will have cupped into a semi-circle by the time it's dry and seasoned. It's also full of knots which definitely need treating with knotting and primer at least on the undersides. Wood quality is rubbish unless you have the cash to get hardwood machined up.
If I was painting the outer surface I'd use a second fix nailgun, fire pins under the surface the and fill the tiny holes. (I just bought one and it's so fast). I must admit I've not tried gluing when fitting stuff to our boat; secret nails seem to inevitably split the tongues, I've used visible fixings like brass screws but I reckon the smartest finish personally is plugging.
-
11 hours ago, Graham_Robinson said:
They are working, just spoke to Simon (Wain) he's tried to return your call without success
B Boats are having some cast.....who knows when that will be....so yes they can but no they can't, at the moment.Thanks for that - very kind of you. I'll give him a call.
-
10 minutes ago, monkeyhanger said:
You may find it easier to fabricate a collar out of mild steel. I did this on my boat when I fitted my Kabola. You can then make it any size you wish. Then the problem of fitting the chimney in the space you have may arise. You may have to get one custom made with a slightly smaller diameter. I can recommend someone if you wish. Glad to see that you got your stove in the end. Did you buy it from Sarah? Jack
I still have my old stove at the moment - reduced to a pile of bits! Still deciding what to do with it.
Yes I might in the end have to get a collar made - who do you recommend? -
2 hours ago, monkeyhanger said:
Instead of repositioning the collar, is it not possible to adjust the flue inside the cabin to fit?
Unfortunately not. I’m building a back cabin - the boat didn’t have one before - and the flue exits right in the middle of the drop cupboard section! The stove itself is a bit too far forward as well but that is easier to deal with (I think!)
-
3 hours ago, BWM said:
Thanks for the extra pic: I’ll check your dimensions against mine but looks pretty similar.
I rang Brinklow but only an answering machine. I guess they are on full or partial lockdown. -
2 hours ago, WotEver said:
So a little less than 10mm to grind off each side of the collar? Half an hour’s work, surely?
No that’s BWM’s dimensions not mine. Mine is (I haven’t got exact figures with me) approx 8 ins total width with a 61/2ins outside dia collar to take the flue pipe.
If I ground it to fit the space I need it to fit there would be virtually nothing left at the sides to seal onto roof. -
-
25 minutes ago, BEngo said:
If you are tight for roof space a fabricated collar might be easiest. 10mm plate cut to fit space on roof, short length of 5 in pipe welded on underneath to fit the flue and a chimney sized pipe welded on top. Securing holes to suit roof stiffeners. Don't forget a hole in the middle.?
N
That is a good plan - I can’t quite see why mine is such a monster; half inch thick casting, weighs a ton.
Will 5in pipe leave enough clearance for flue packing?
-
28 minutes ago, Tonka said:
Has yours not got the smoke box which sits on top of the oval part but has a round bit for the flue
Yes it has - I know that determines the flue size at that point but the pipe itself could be reduced down from that.
Does a stove with a tiny firebox really need a 41/2 in flue? -
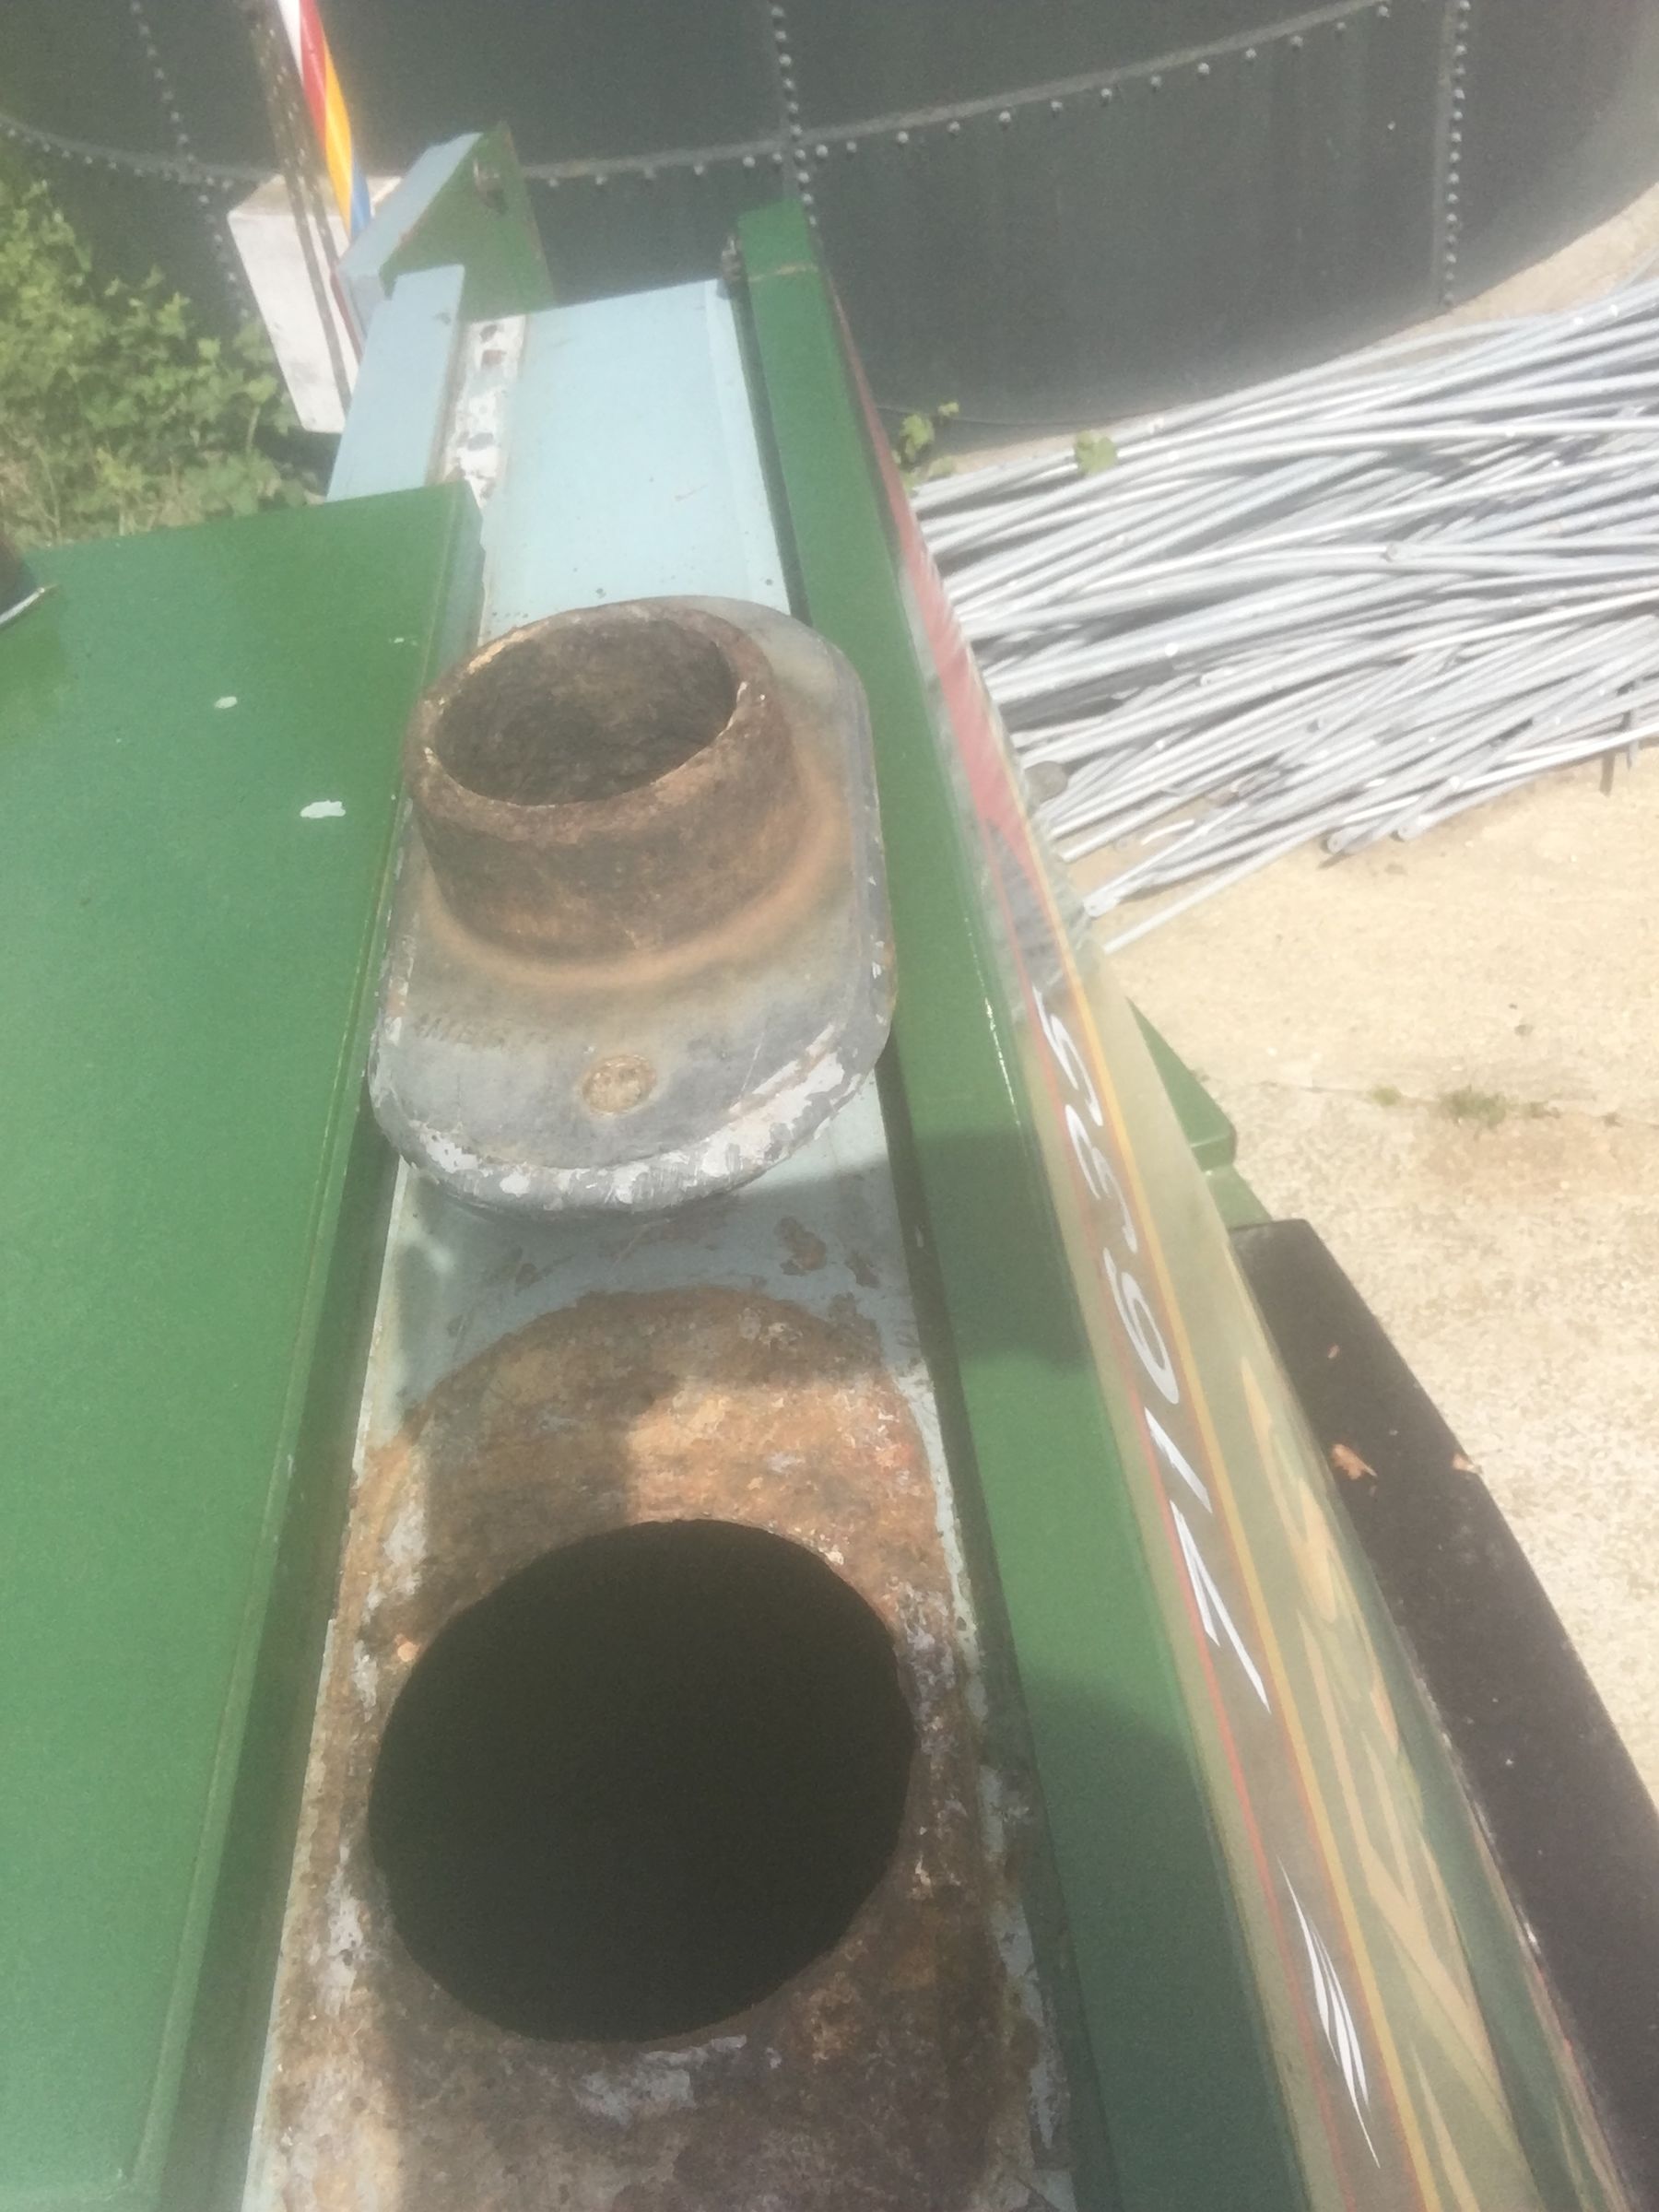
I’m trying to move my Epping but roof space for the flue exit is tight - the cabin sides curve sharply inwards so the gap between them and the slide diminishes rapidly. (The slide is the traditional timber type which adds width.)
Anyway the present collar seems on the large side - the internal diameter is 5 1/2 ins and the overall width (footprint width) of the collar is 8ins. How does that compare with others?
And given that the exit from the stove is a 5x2 oval does the flue really need to be
4 1/2 ins?
-
Still looking for a bit of a steer on this.
Also the manual talks about flared pipe ends for joints but the connections to/from that metal box are conventional brass & olives as is the one on the heater.
Everything seemed to work so I guess I just leave well alone. -
These people made a couple of custom rigid plastic tanks for us - very good, helpful, family firm.
http://www.jpplastics.co.uk/index.html -
A few months ago I stripped out our Webasto C Type during the boat refit and now I'm about to refit it. I've got the manual but, being a bit dim, am still unsure where the main feed and return cables go. Presumably the +ve is to the fusebox pictured; is it to the screw connector? And the -ve is to the stud which has the brown cables grouped? The feed would come direct from the master switch side of the battery and the return to the end of a shunt on the -ve.
Finally, the box pictured contains the fuel pump and an in-line filter which looks rather different to other set-ups I've seen - is it an ok system?


-
1 hour ago, springy said:
The top, flue box, firebricks & grate I would expect, what happened to the foot ?
springy
Snapped across the bolt hole - possibly over tensioned sometime. I’ve got the broken bit. Not a problem compared to the other stuff.
1 hour ago, cuthound said:So what did you do to upset it? ???
Swore loudly at it. It’s very sensitive.
-
The Epping is in bits! Surprisingly straightforward really though I had to drill out most of the fixing bolts.
I’m making a list of the bits in good order...it’s depressingly short.The list of damaged ones is depressingly long: the top, the flue box, an oven casting, three of the four firebricks, the grate, one foot.
I think I’ll store everything out of sight and wait until the virus plague is over. -
Well bearing in mind that the timber suppliers near me are all either closed or prioritising customers on essential work, and that the ply I've now measured more accurately and found to be 15mm (not a size I've come across but it's quite old) I've decided to leave well alone. I'll probably stiffen it with some screwed and glued timbers on the underside..
Thanks for all your advice (and, yes, it's a traditional cabin with bearers either side of the propshaft.


Back cabin - does it have to be red & green?
in Boat Building & Maintenance
Posted
??