


Manxcat54
-
Posts
84 -
Joined
-
Last visited
Content Type
Profiles
Forums
Events
Gallery
Blogs
Store
Posts posted by Manxcat54
-
-
No because i'm not a cold arse with fires everywhere, listen smarty I have a self build campervan and it's more difficult than a boat
-
14 minutes ago, Tracy D'arth said:
What degree of resistance is the question.
The occasional splash or the occasional dipping in water. Or on a boat the permanent water sloshing underneath and the condensation 9 months of the year.
I have seen loads of houses with weetabix under radiator valves that drip a bit.
I have also seen lots of boats with spongy chipboard floors.
There won't be water on this boat
-
 1
1
-
-
It's 22mm Caberfloor and better than any of the ply around, it's very solid, it's not CHIPBOARD
-
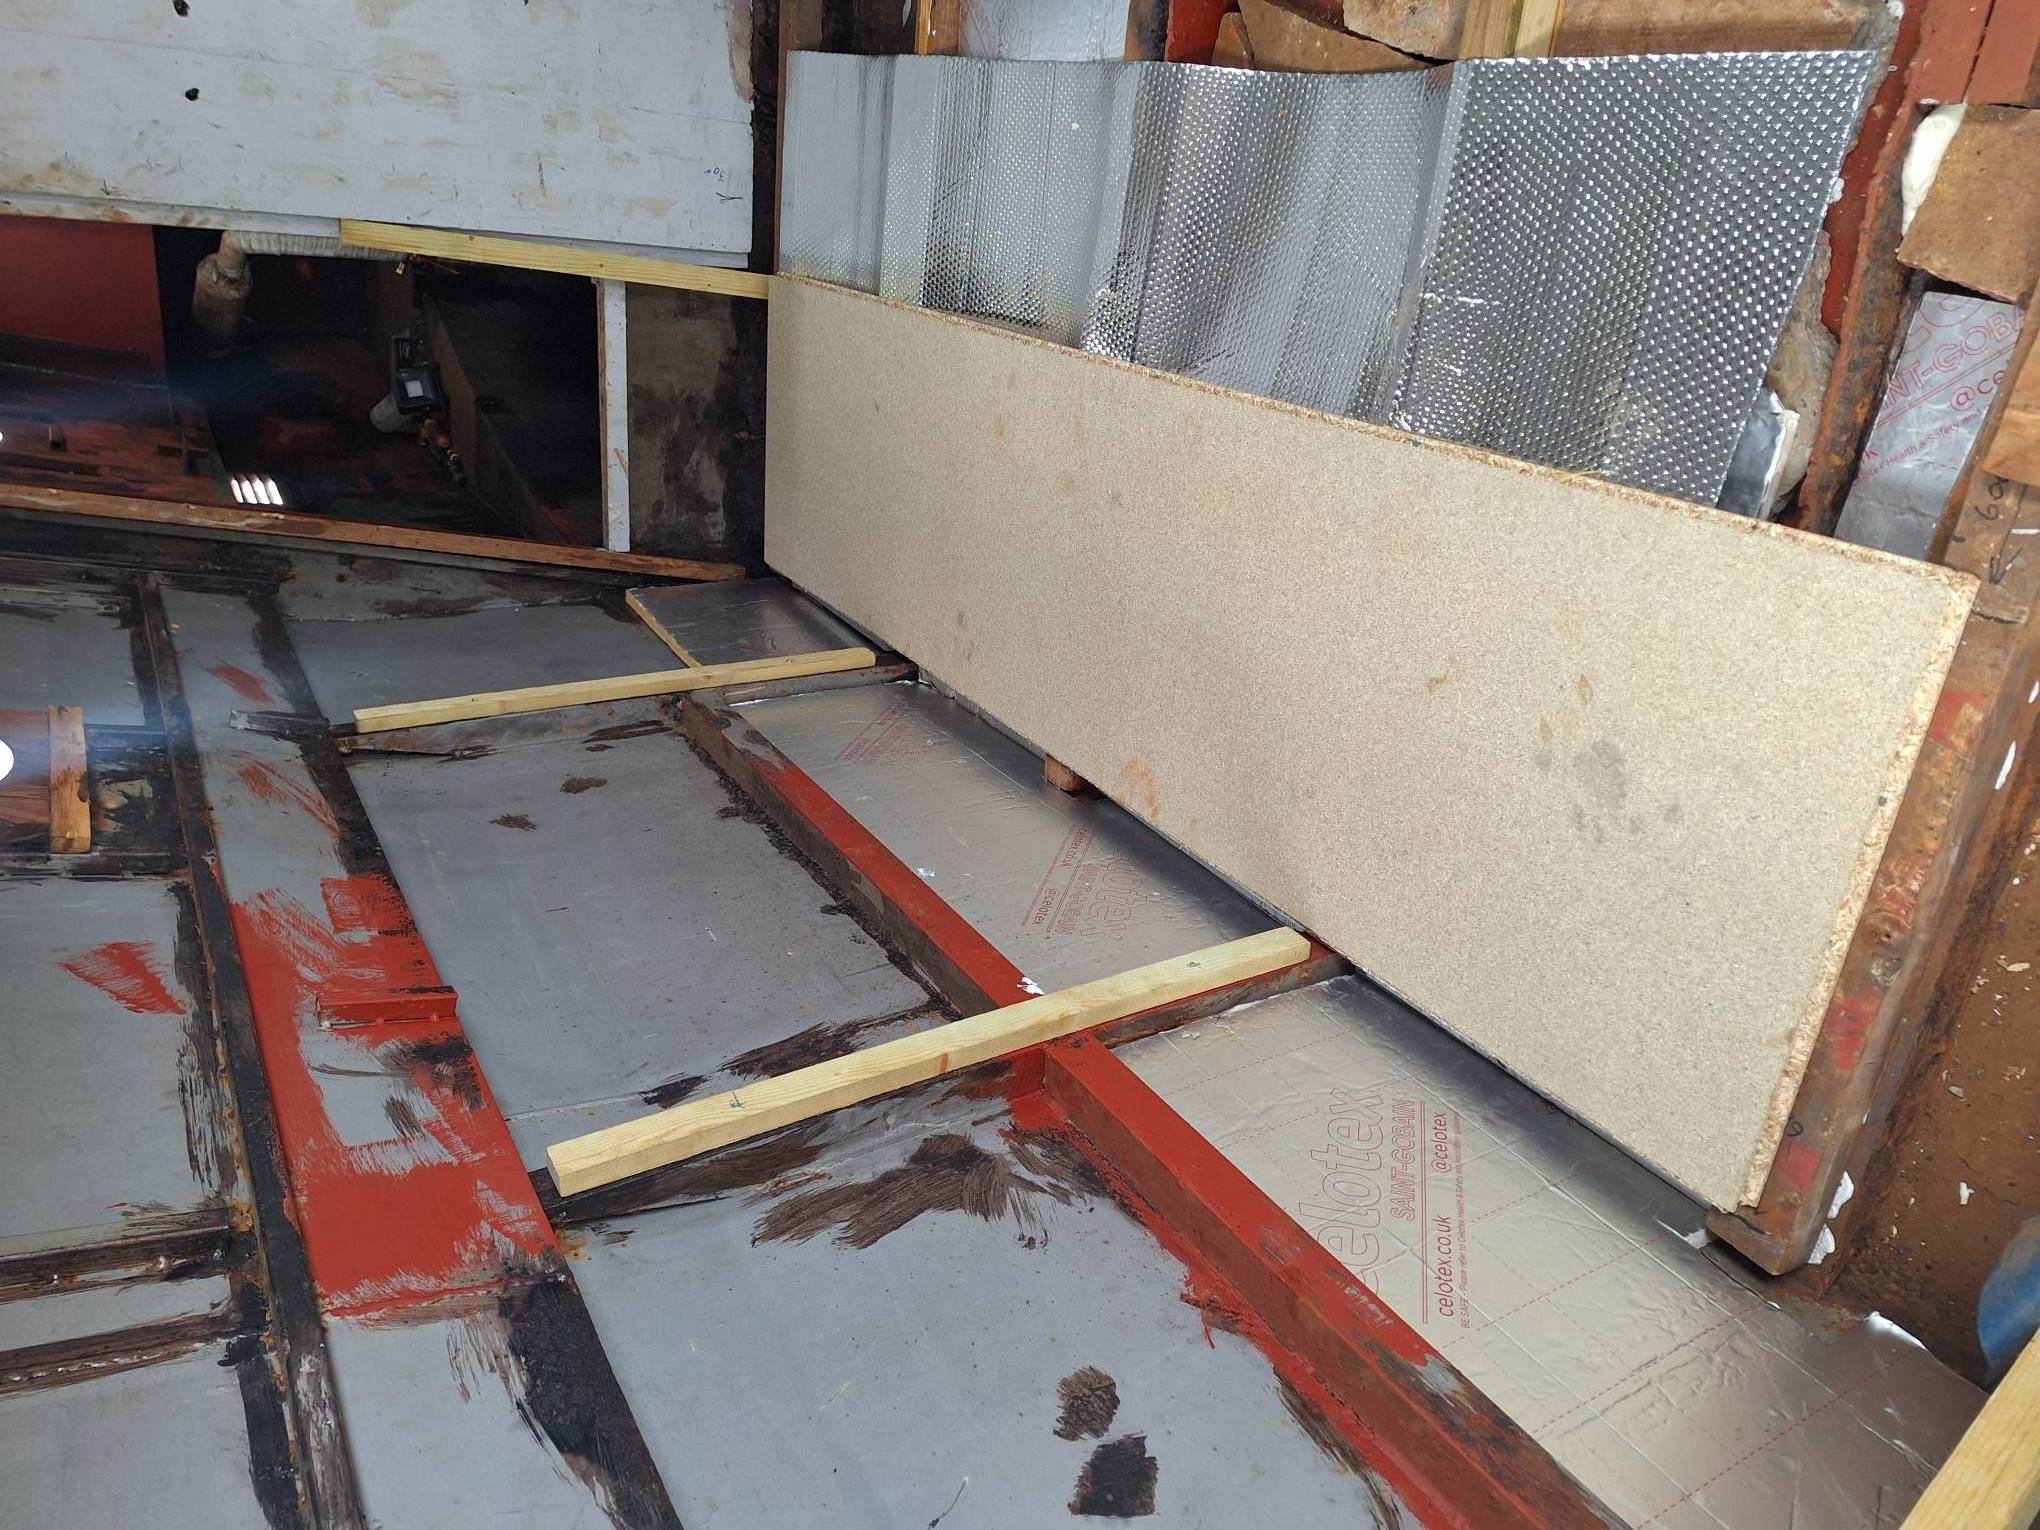
It may look like nothing progressed, but believe me behind the scenes it has been busy, and my day to day job keeps getting in the way of the fun. I have now cleaned, painted, ballasted, insulated and bubble insulated four 2 ft bays, that is 2400 mm plus, and believe me that end of the boat was tough going, but I can put my hand on my heart and state that the base is 8.4mm at it's worst point, and will never rust from inside during my time on this planet, a bit more tomorrow. and whatever i try these pictures keep turning, can't the admin do something?


-
I feel a bit relieved now, when I return to the boat that bugger is coming out, thanks for the replies
-
Hello everyone
I removed the pump out toilet tank from the boat I am currently refurbing, the 2 1/4 tube connecting the tank to the pump out entry situated on the Gunwales was cut through when we cut the tank out, however the bit that is still left under the side of the boat is in the way for a couple of reasons, so does anyone know how this tube connects to the brass fitting, I must admit to not yet investigating, but I was thinking would it be a locking ring on the outside on the top of the Gunwales, can anyone advise?
-
Hi
Do you know the size of the outlet on it
-
I know it's probably been asked a hundred times or more, but can anyone recommend a decent 90 mm shower tray waste fitting, I would like one that will accept the piping from the gulper without too much in the way of reducers, there is good 4 inch clearance under the tray
-
22 minutes ago, Alan de Enfield said:
I'd be very surprised if the base of the tank was a seperate piece to the boat base plate.
Usually the base of the tank IS the boat base plate - are you sure that the little stubs of up-stand that have been left are not welded directly to the baseplate ?
They could well be, I was thinking it would be senseless to place a tank in and then do so much welding just to hold it, but in any case it's very thick steel in that spot, thew sides were shite (no pun) but the bottom was a sort of wax feel to it, anyhow it will see me out.
-
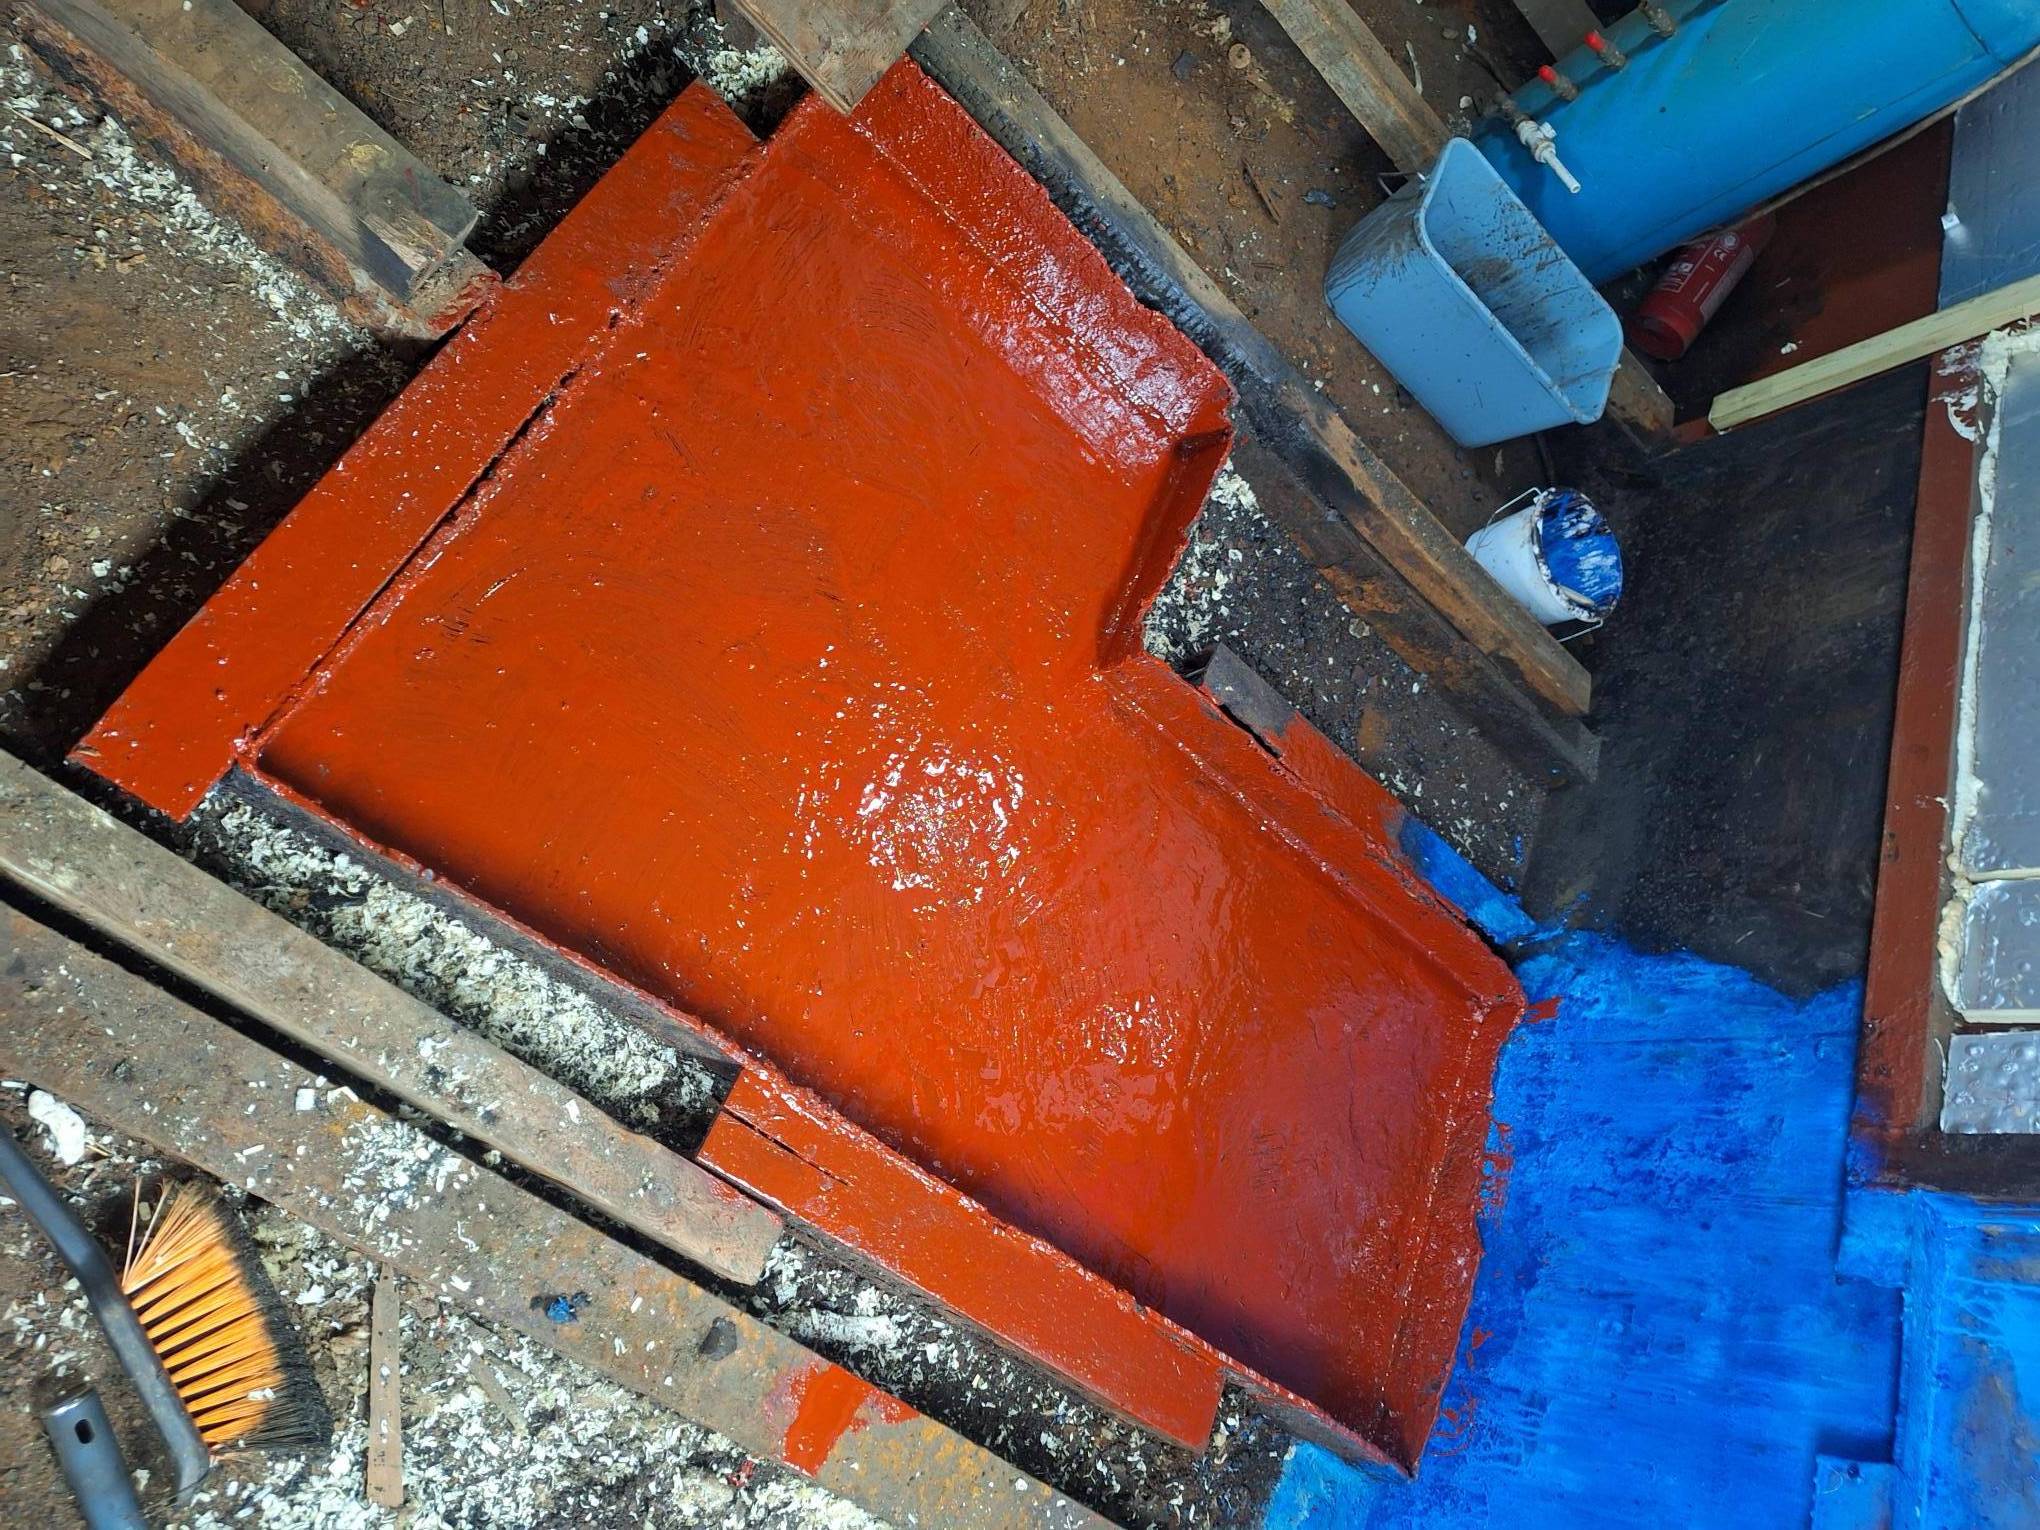
Update on the state of affairs, so after having the guy flame cut the old pump out toilet tank out, I spent 4 hrs shovelling you know what out of it (not nice) then I put some sawdust and flakes in (they were once for my chickens, but I got rid of the buggers) so they came in handy, I let them do the work, then today I used a tough scraper and got it virtually down to steel, just a sort of glaze left, but don't forget, this tank is an integral part of the hull, it was welded on all sides to the base plate, so in this area it will be 1/4" thick tank plus whatever the base plate is or was (I really should have checked that with my ultra sound before I painted) anyhow I have absolutely smothered it in red oxide, that can be let to dry for a day or so, then I can begin to clean the area up, get the base plate painted, new woods on the cross members, and then a bit of floor installed.
-
11 minutes ago, Victor Vectis said:
When we took the boat to John the Paint to discuss what we wanted he was adamant he would never put sand on a boat roof as the extra weight would make a boat too top heavy.
No problem for us as we are fine with a non-slip finish.
(And I would argue that he knows what he is talking about when it comes to boat painting)
ETA Top heavy and potentially unstable. Especially when the roof might be used to store bags of coal etc.
Bags of coal and a garden
-
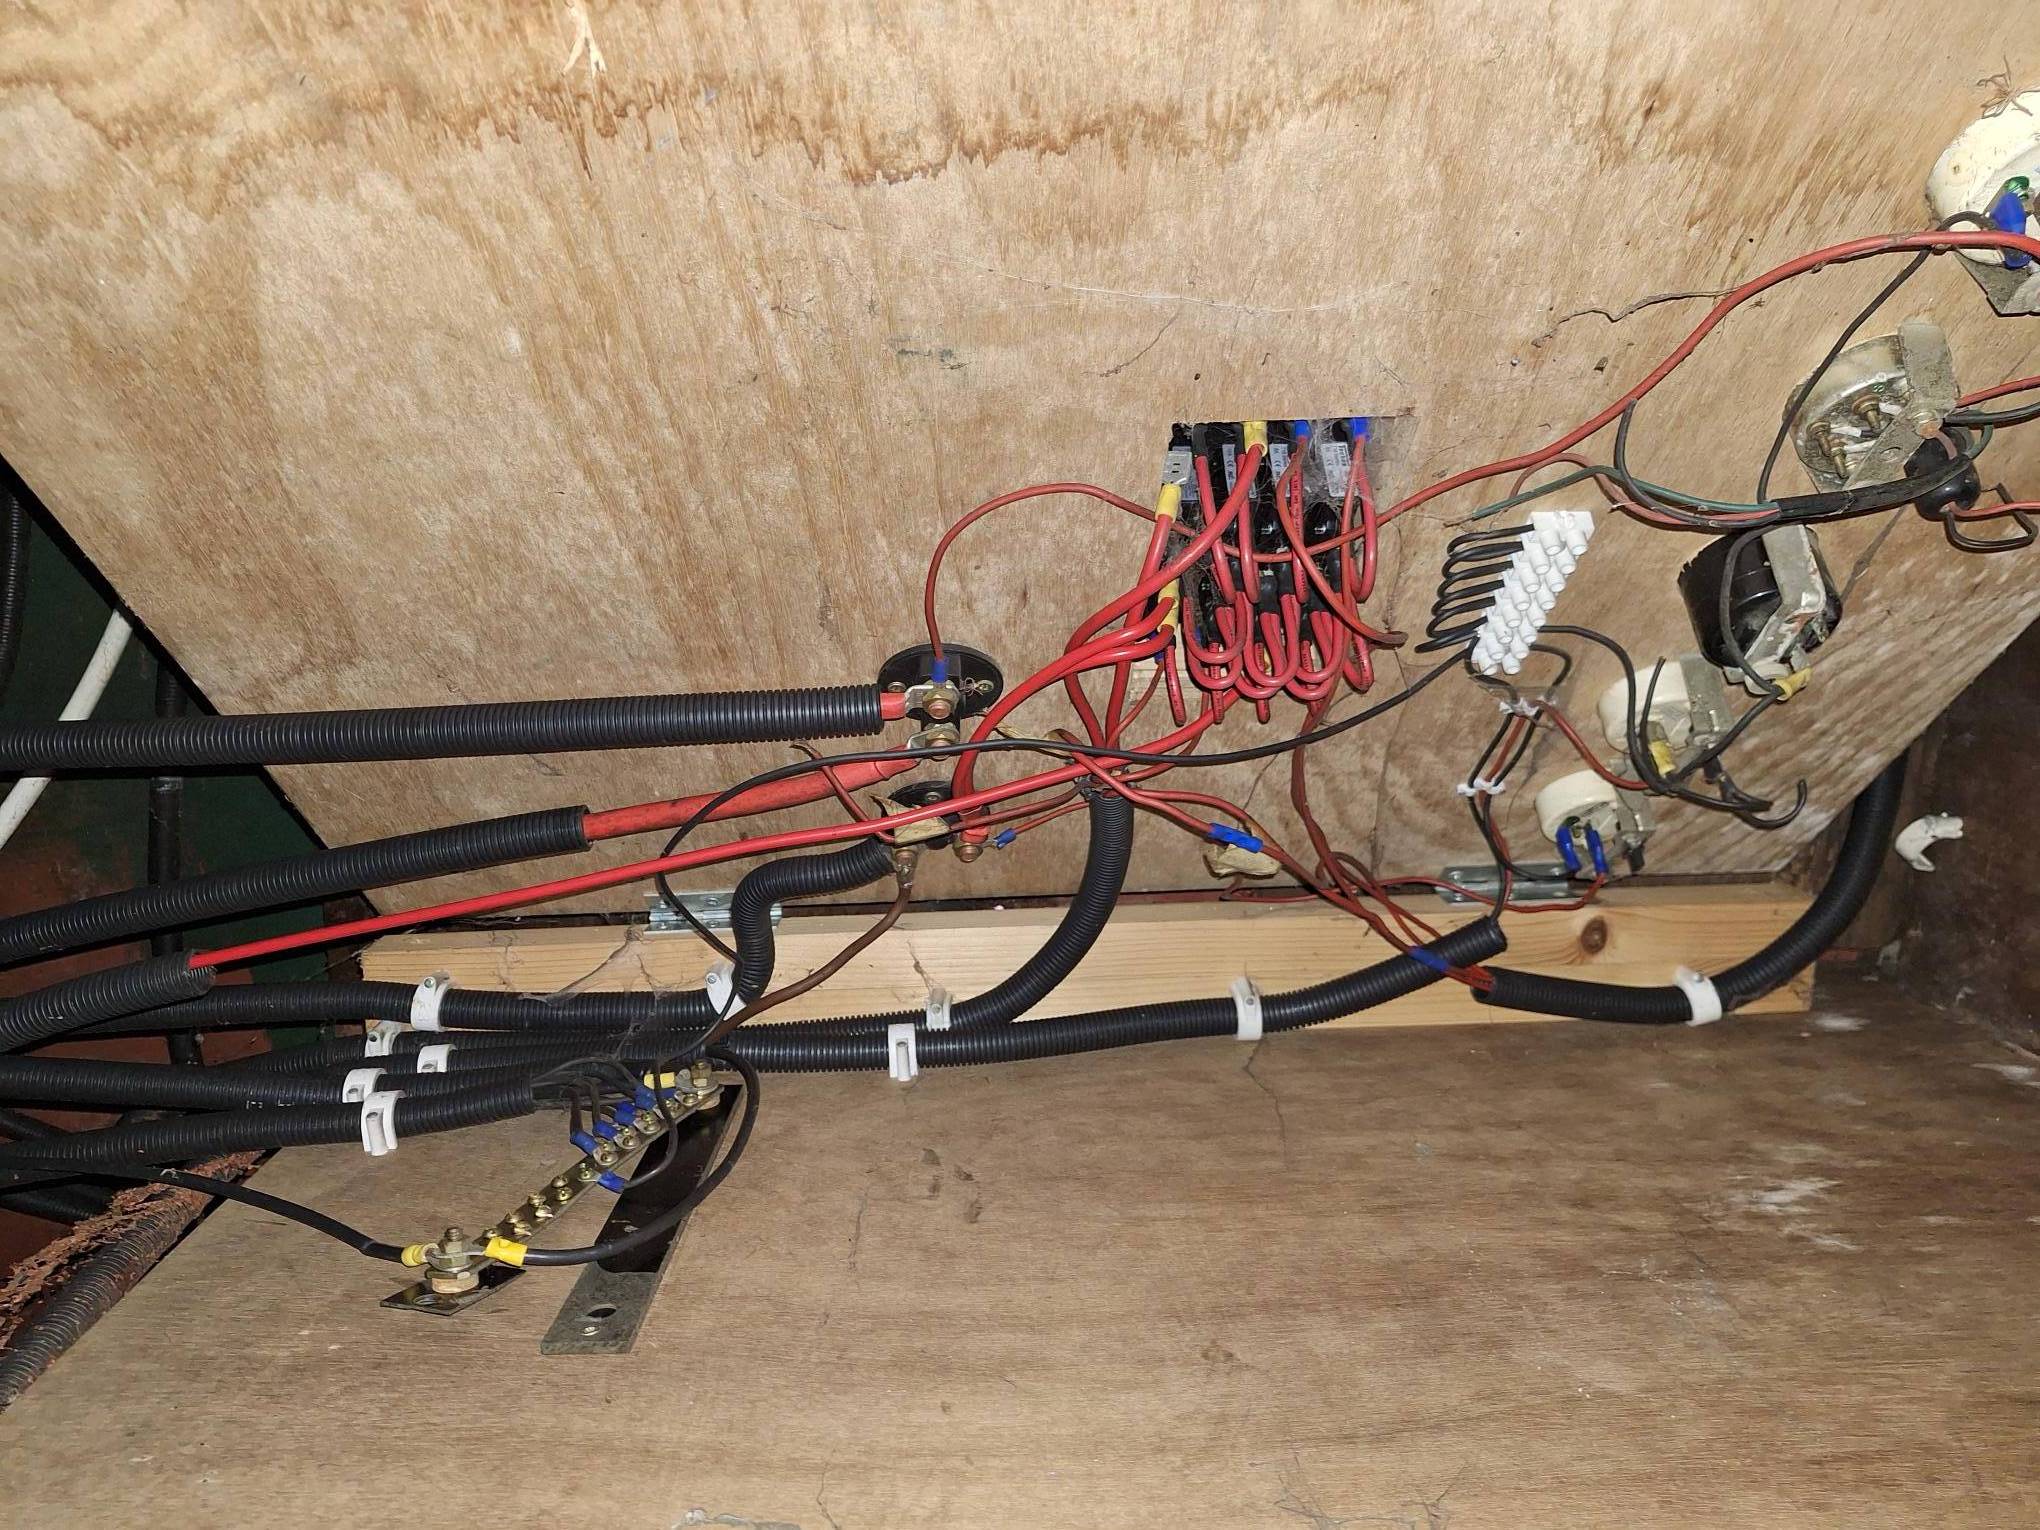
Believe me there are NO fuses but it does have a battery isolator
-
Hi Guys
I know I have touched on this matter before, but what would be a reasonable set up to run on my boat to maintain both leisure and starter batteries, I am not going lithium because I don't want the expense. And just one thing, this old boat which I am refurbishing, I sat up in bed again when I realised that whilst stripping out the previous wiring, I have not come across any form of charging system? it just looks as if it relied on the alternator to charge the batteries, but I can't see any sort of protection from over charging? and another thing, I have yet to find a fuse on anything? which sends shivers down my spine, but it's been on the water until 2019 and was built in 1979.
-
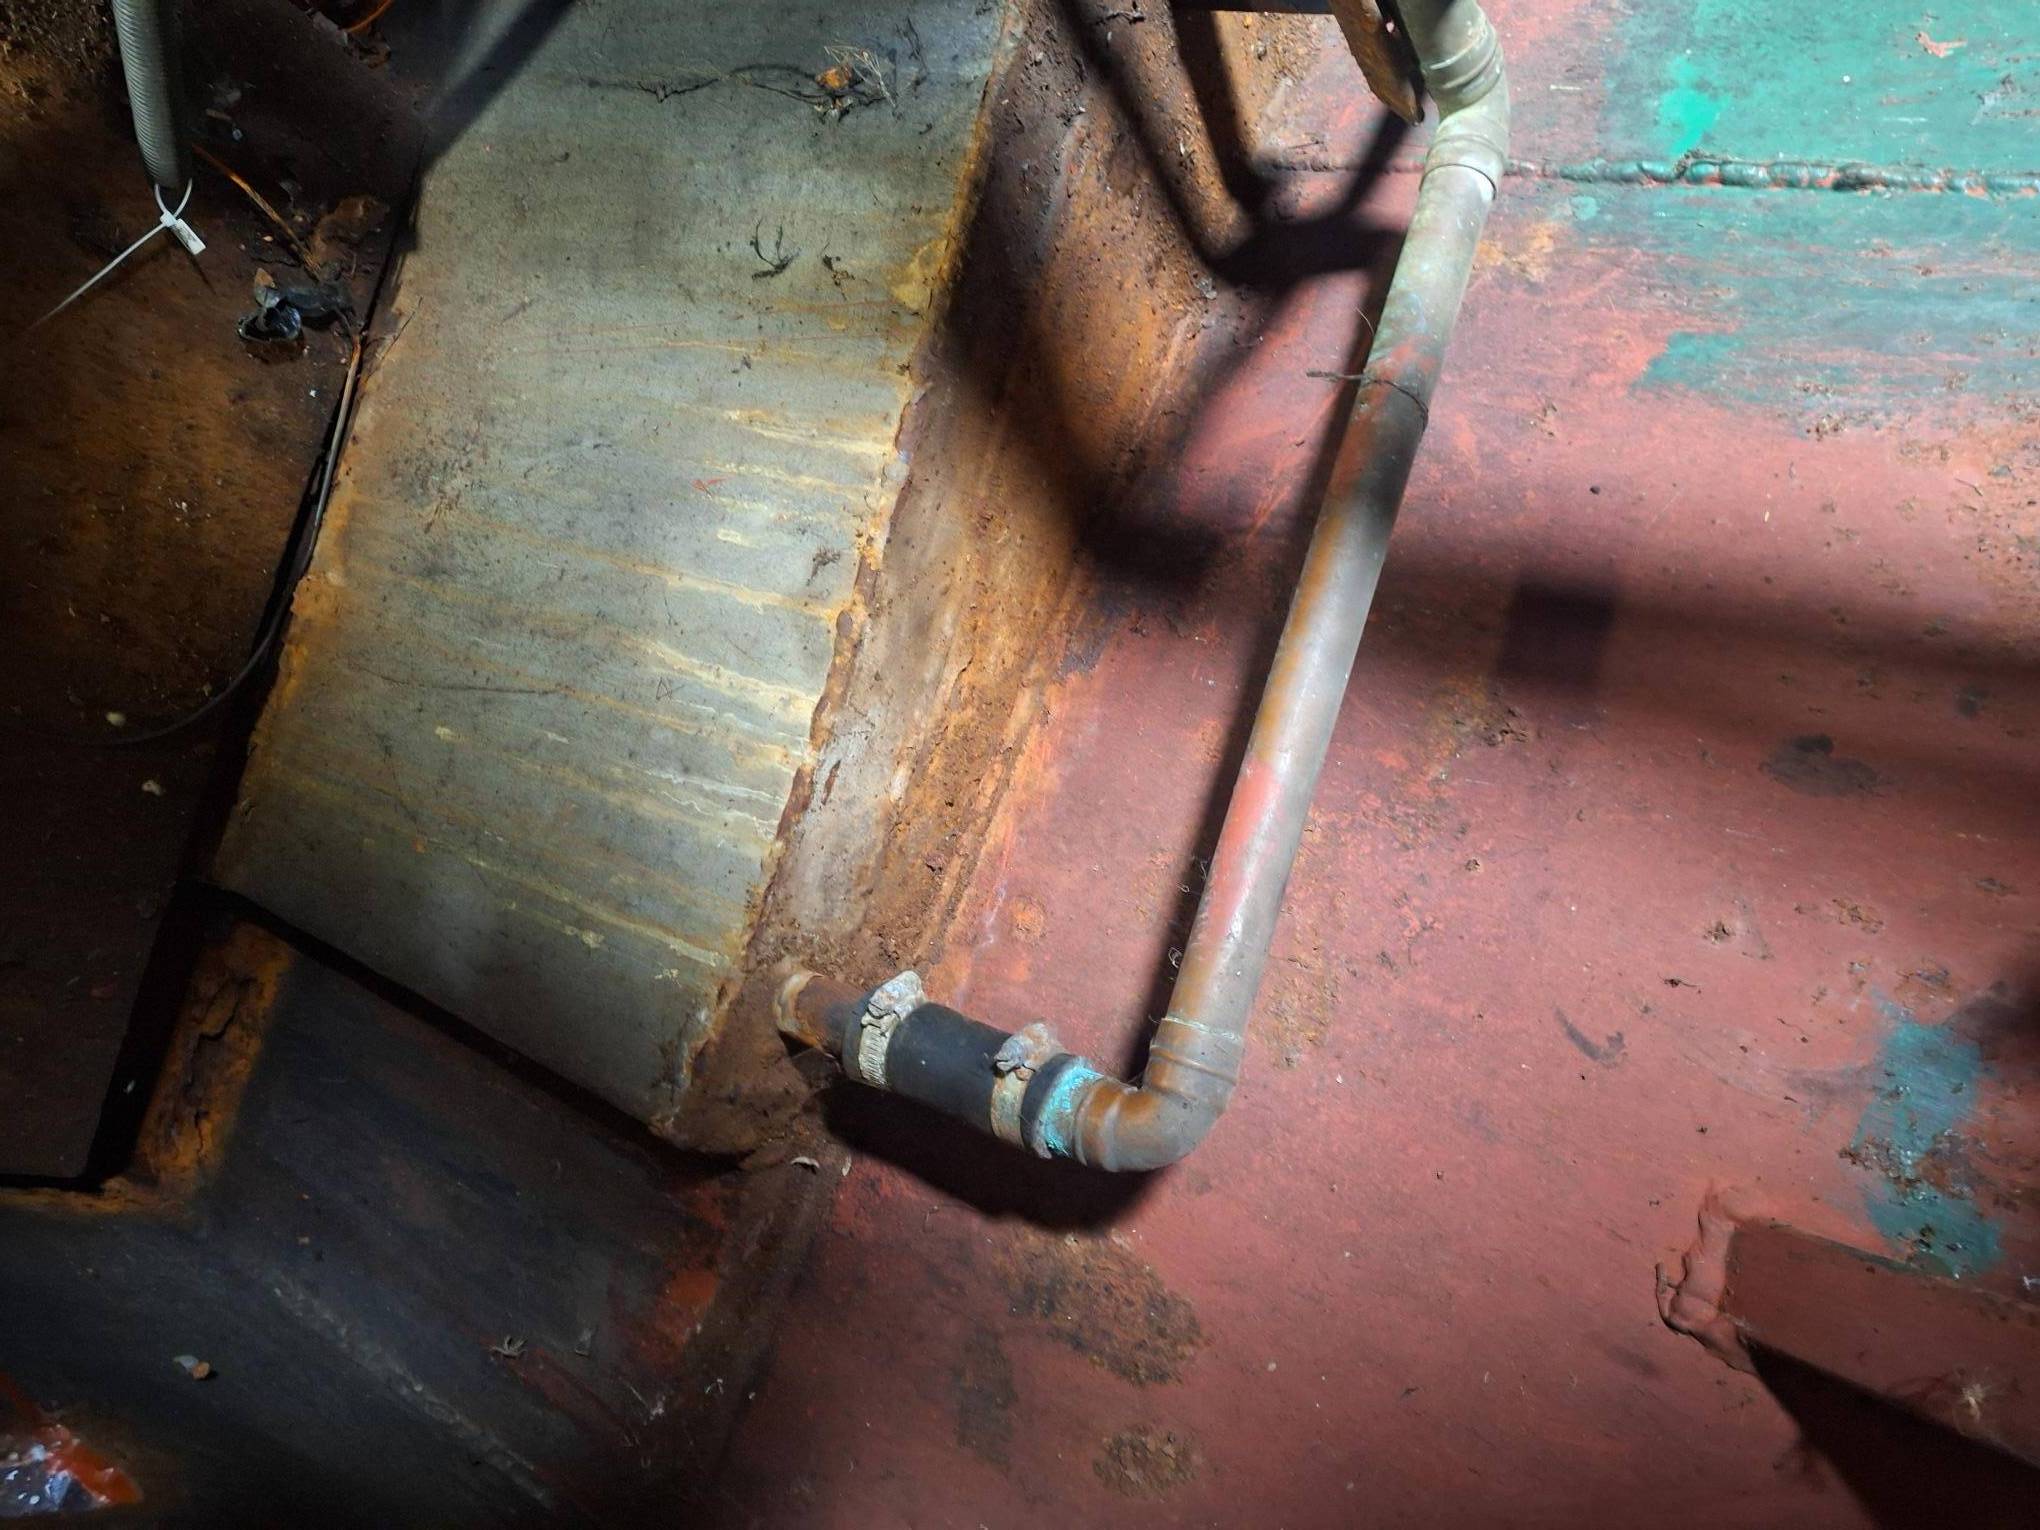
Yesterday I cleaned the engine bay out, what a painful job, my legs and back were killing me (at my age I don't bend so easily, but my mind thinks I can) but I managed to get down to bare metal, and as you can see I coated it with Vactan, it was still purple yesterday, however it is now dry and has turned black, tomorrow I am hoping to paint the area with Ronseal garage floor paint, I did have options, but opted for this, lets face it I will be in a wooden box before it wears.
-
 1
1
-
-
Today I brought a welding guy in to flame cut the dirty horrible pump out tank up into bits and get rid, it's been a burden for me moving on, I keep falling over the thing, and the final straw was when he was cutting I was fire watch, and suddenly there was a big flash and pop, and I got covered in Sh1t, thank god it's gone.
-
1
-
-
Hi Guys
The roof of this old boat bugs me every time I look, and so it will be the first thing I paint on the outside of the boat, I have considered many colours, but keep returning to red, even though I know that reds always fade, but I suddenly also thought of something else, isn't there a non slip paint, you know the one which goes on looking like sand paper, I do realise that one trick is to cast sand onto the still wet paint, then brush the residue off. I need some advise please, and it must be RED
-
9 hours ago, manxmike said:
Wow, this is a prime example of personalities getting in the way of useful information. Looking through I feel I have learnt something.
Manxmike, Do you really live on THE ROCK my best friend lives in St John's and drinks in The Tynwald Pub, I go over in my camper for the TT, and The Manx, I stop up Bride on the cliff edge near the lighthouse, and I frequent The Trafalgar Pub Ramsey.
-
Blimey did I really start this topic, it was about the ceiling over the shower, it now reads like a parliamentary white paper, Jesus Christ
-
4 minutes ago, truckcab79 said:
Id definitely just ask him again. Not really worth the worry of accidentally using the ‘wrong’ one. Too much time and money involved.
I think you are quite right mate
-
9 hours ago, LadyG said:
I buy all my paint from SML Paints because they have an excellent technical adviser, and sell a huge range of coatings to companies and individuals worldwide , so I would always take their opinion over a local painter, particularly when it comes to prep and priming. , go to Marine Paints and look for a kit, as you will need brushes, rollers, mixing buckets, a penguin kettle. The kits will help with the volumes you will need.
If the job is being done outside, then it is down to you to prep, it can be a fairly big job, I assume you have power to use something like wire cup brushes on a drill.
If you are talking about a boat which has little or no blacking left, I would go for two pack epoxy to finish, the hull as it will last longer. As with all these things, read the directions and follow them to the letter.
I did not have any difficulty with mixing the two pack, it's not rocket science. Mix in exactly the correct proportions Just keep stirring!
Penguard is a range of primers, not all are suitable for OPs boat.
I think you read my post wrong, this is for the top of the boat not the hull, and the painter at the boat builders paints top class boats all year round, so I think his advise is something to take onboard rather than a paint distributor, thanks for the input anyway.
-
2
-
-
My memory is rubbish, yesterday I called at the local boat builder/repairer, they have a painter always on-site, I told him about my boat, and that in the future I would like it painted, but he told me it would be best if I brought it over to him, ah ah ah that won't be happening when it's on woods in a farm, he suggested when the time comes to save money, that I should do as much prep of the steel myself, which seems sensible, I then mentioned if I should prime the flattened shell, he told me that a lot of primers such as grey oxide and red oxide are no good as a base, the finished paint will not last too long on this type of primer, he said if I am going to put anything on, I should use JOTUN 2 pack epoxy primer, and he told me a specific name ? So without going back to pester the poor guy, would anyone on the forum know the specific name, I went on the Jotun website, but there are so many, Penguard seems to sound OK
-
I got some friends in today and we got the boat totally stripped to bare metal, in fact they went over the top and got rid of the wooden lats I was saving for the bed, never mind at least it's clear now, just a bit of hoovering up.
-
1
-
-
I have worked my socks off this weekend, I suffer with serious arthritis and I have other stuff going on, so it's 10 minutes work then a sit down, my young helper was not available this weekend, but I think I did OK. I had the skin tank problem, but sucked the water out, I cleaned the swim as best I could and applied some vactan in some slightly rusty spots, I did my utmost to clean the engine bay steelwork above my head, which is a dauntless task, cobweb city! it's no use painting the floor when the roof is full of shit is it. I turned my attention to the engine wiring which was shabby, I have it worked out, and have made a drawing, I have a plan! then I removed all the rotten water hoses and cleaned the engine a bit. I then decided to do some more insulation, and I have put 2 battens up ready for my ceiling plywood, I am leaving a 200mm gap for wiring, which I will eventually cover with a central piece of wood and trim to make it all look pretty, I'm home and having my evening meal soon, then I will collapse, got to go working in the morning. Thanks for all who actually watch my slow progress.
-
3
-
-
28 minutes ago, blackrose said:
Is 3mm thick enough to get enough threads in to make it secure and watertight? I honestly don't know but I'd hate to think about some clumsy oaf with steel toecap boots accidently kicking the fitting and emptying the contents of the skin tank.
If you can empty the skin tank with your wetvac then I think it's reasonable to leave it alone and not fit a drain. But I would flush it through with a hose and empty it again with the wetvac to remove as much crud as you can.
Have you tried lifting the back (stern end) of the sliding hatch at any point in its travel? Or the same thing with the front end?
Yes I tried everything to get the hatch off, I think I will wait until it's a bit warmer and get on the roof to grind the stops off


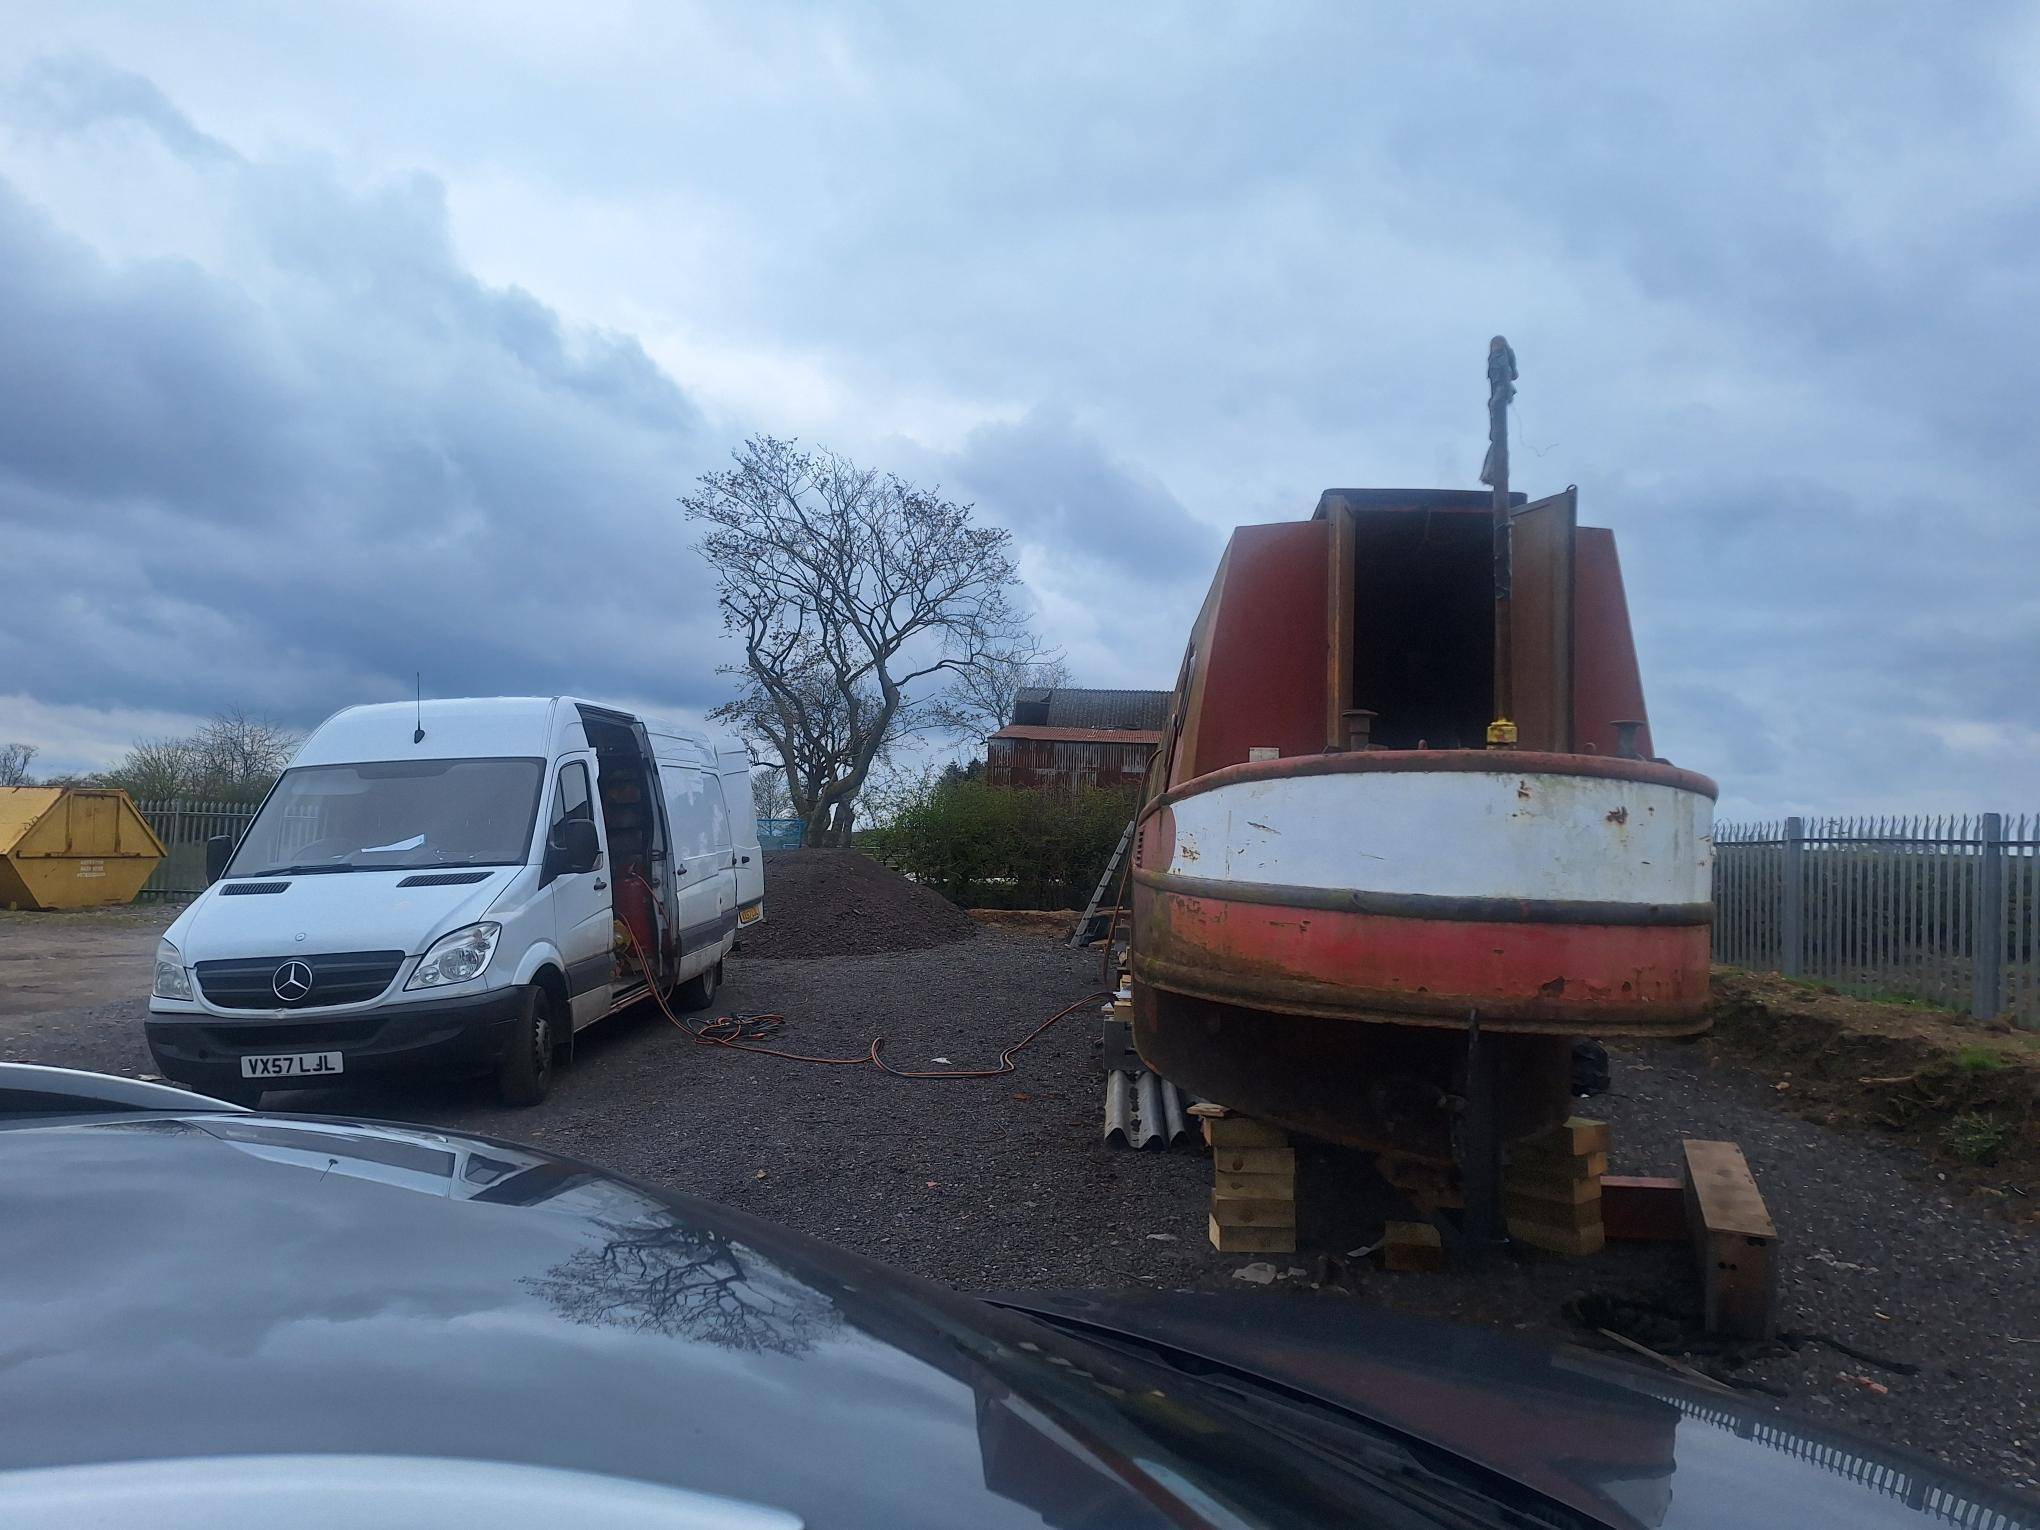


My 57 ft Boat refurb
in Boat Building & Maintenance
Posted
I'm off you lot are utter nuts