


NikaVinyl
Patron-
Posts
115 -
Joined
-
Last visited
Content Type
Profiles
Forums
Events
Gallery
Blogs
Store
Posts posted by NikaVinyl
-
-
Yes the pump is all done, I am going to the boat on Wednesday to fit it, but tomorrow to check hose sizes and recheck the system for any rubber.
As for this new filter it will be placed in a better position, just don't know where yet.
-
There was concern raised over my filter, ok I understand its a diy job but I have looked and I just cannot find a suitable filter for my boat, so I decided last night I was going to make another which will have a mesh to offer better protection, it has cost me £23 but I have enough pipe to make maybe 10 more tubes, and enough mesh for one more, at an average lets say £12 all in per filter.
Is it a winner or still concerns?

-
Ok I have decided to change out most of the water pipes, might as well do it all now.
A question, I have been thinking that the inlet hose from the back of my boat seems a bit long, maybe shorten it would produce a more powerful flow and also position it downwards near to the back of the boat body?.
looking to change the filter but no joy finding one.
-
10 minutes ago, Alan de Enfield said:
OK, maybe being new and well greased is helping.
I'm sure if you have it the same way as it was previously it'll be fine.
Again, well done its a big achievement doing your own repairs.
10 minutes ago, Alan de Enfield said:I have got the bug to restore things now I find it relaxing.
-
5 minutes ago, Alan de Enfield said:
It will try to, but there is not enough room for the vanes to change direction by 180 degrees and they will break/tear off.
I did spin the pulley boths ways and they did adjust direction with no stress, of course under the torque of the engine might be a different story, also this is a different pump to yours these could be bit looser.
-
It seems all good and spinning nice by hand, I think on start up it would correct itself anyway, as long as there is enough grease the blades will take position.
I just read this is the same stuff that is given with the impeller kit.
-
-
Tony I took it out to clean the pump, made the video to ask some questions then went back and cleaned the cam and fitted it.
Can someone confirm this is in correct and the fins in the right direction and all good.

-
8 minutes ago, Alan de Enfield said:
Excellent job and good video - maybe you could make an instructional 'who to do it' video for others to learn by.
Yes impeller grease lightly smeared around inside the impeller housing, give the tips of the impellor vanes a good coating, and impellor grease a light smear under the gasket.
As Tracy says ensure that the vanes are fed in and bent in the correct direction or they will snap off as soon as you start the engine.
Excellent job.
I might have a project coming up soon if all goes well, and will make a video of the restore, all credit to you lot though, it feels like the matrix, one moment I knew absolutely nothing and the next I am on my boat stripping the system down. ?
-
 1
1
-
-
8 minutes ago, Tracy D'arth said:
Brilliant movie, oscar material.
You are OK so far.
Ensure the impeller has the ends curled in the right direction. Grease the gasket well when you fit it to seal and make it easier to remove later.
The damaged 1st threads on the greaser bodies not important but filing the ends down to get rid of the chips may make it easier the screw the grease caps on when you are struggling under the engine to refill them. Fill bodies and caps with grease. Fit them with just a first few threads then you have plenty of thread to go when you turn them a bit to grease the bearings, say once every 20 hours? Not sure, never had any pumps like this, Tony will know.
PTFE tape on the water fittings threads is fine.
You have done a lovely job cleaning everything up.
TD'
Thank you Tracy
-
OK I am ready to put the pump back together. I made a video and raised some questions.
-
21 minutes ago, Tony Brooks said:
Beware of using names to identify colours, names my be "house" colours that are specific to the paint manufacturer. Far better long term to learn to use the RAL and BS colour codes so you can get a very close match from any paint supplier (once cut back to remove faded old paint). link to online colour charts but on no account go by screen colours because they will be wrong, use colour cards instead
OK thanks Tony.
-
That is looking good mine is overdue a repaint, the top roof blue is that called sky blue?
-
I am going to order from Asap so the gland packing should be one of these?
-
8 hours ago, Tony Brooks said:
FWIW I have just checked the Xylem Jabsco site. The pump is out of stock (I think no longer available), the end plate is out of stock (ditto) but they do have impellors and gland packing. The packing costs £8 so i could see some modified stern gland packing being put to use
")
Can you tell me which one to get there is so many.
https://www.jabscoshop.com/search/?brands-dropdown=&q=gland+packing
-
They fell off as I undid the pump I was about to post asking about them, I think I will try it without the shims first and see how it lines up, and hopefully that will be enough, if not I will do what you showed Tony with the A-B bolts.
I am now going to order the parts before I proceed I will post here to double check, and I still need a filter from the water entering the boat pipe and the first oil cooler.
Jabsco Boat Marine Pumpgard In-Line Strainer 3/4" Barb would this work?
Will go one this pipe
-
1 hour ago, Tracy D'arth said:
Give the other face where the gasket sits on the body of the pump a quick clean off too, saves having a leak.
Be sure to fit the impeller with its legs dragging not pushing when the pump rotates. Use the lube in the kit.
Look what you are learning, you would pay lots to learn all this in college.?
Yes I will clean it after I remove the blockage, my son needed my time so I lost an hour or so, but will spend the evening cleaning it and fix the drip.
I fully respect the knowledge here, and even find it all interesting, thank you all.
-
1 hour ago, Tony Brooks said:
Another very important thing. Because that pump has no replicable bearings you need to minimise the wear in the body and body wear is often cause by people overtightening the drive belt. It needs to be a fair bit slacker than the alternator belt. I would suggest at least 1" of play in the centre of the run and more is OK as long as it pumps properly.
I think mine is just a bit on the tight side.
-
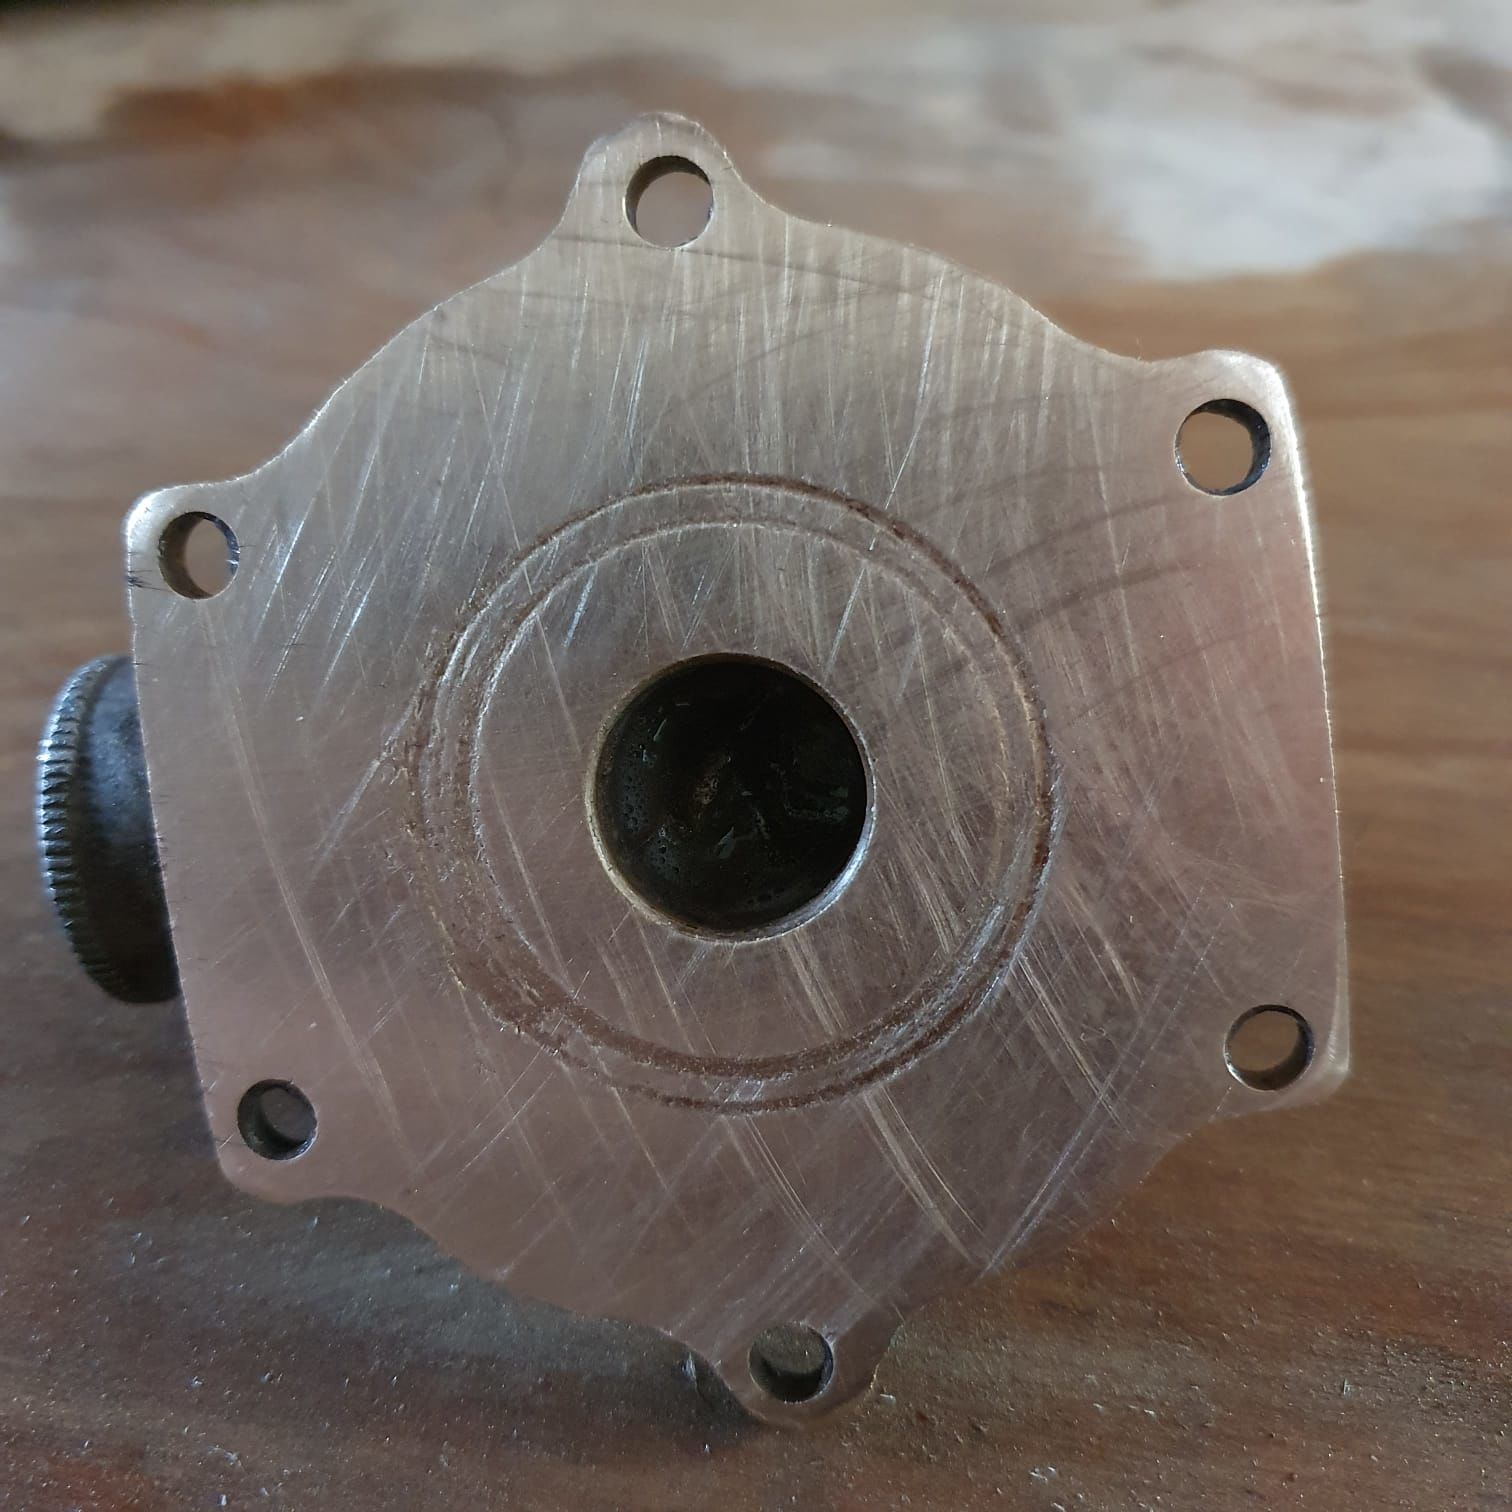
25 minutes ago, Tracy D'arth said:
Well done! Cramp in the fingers? That's far enough, the impeller has a flat face to run on.
TD'
I am enjoying it alot which is key, but yes the fingers feel bit stiff, but job well done counters that.
-
Little tidy up and it's done, now to clean the pump.
-
 1
1
-
-
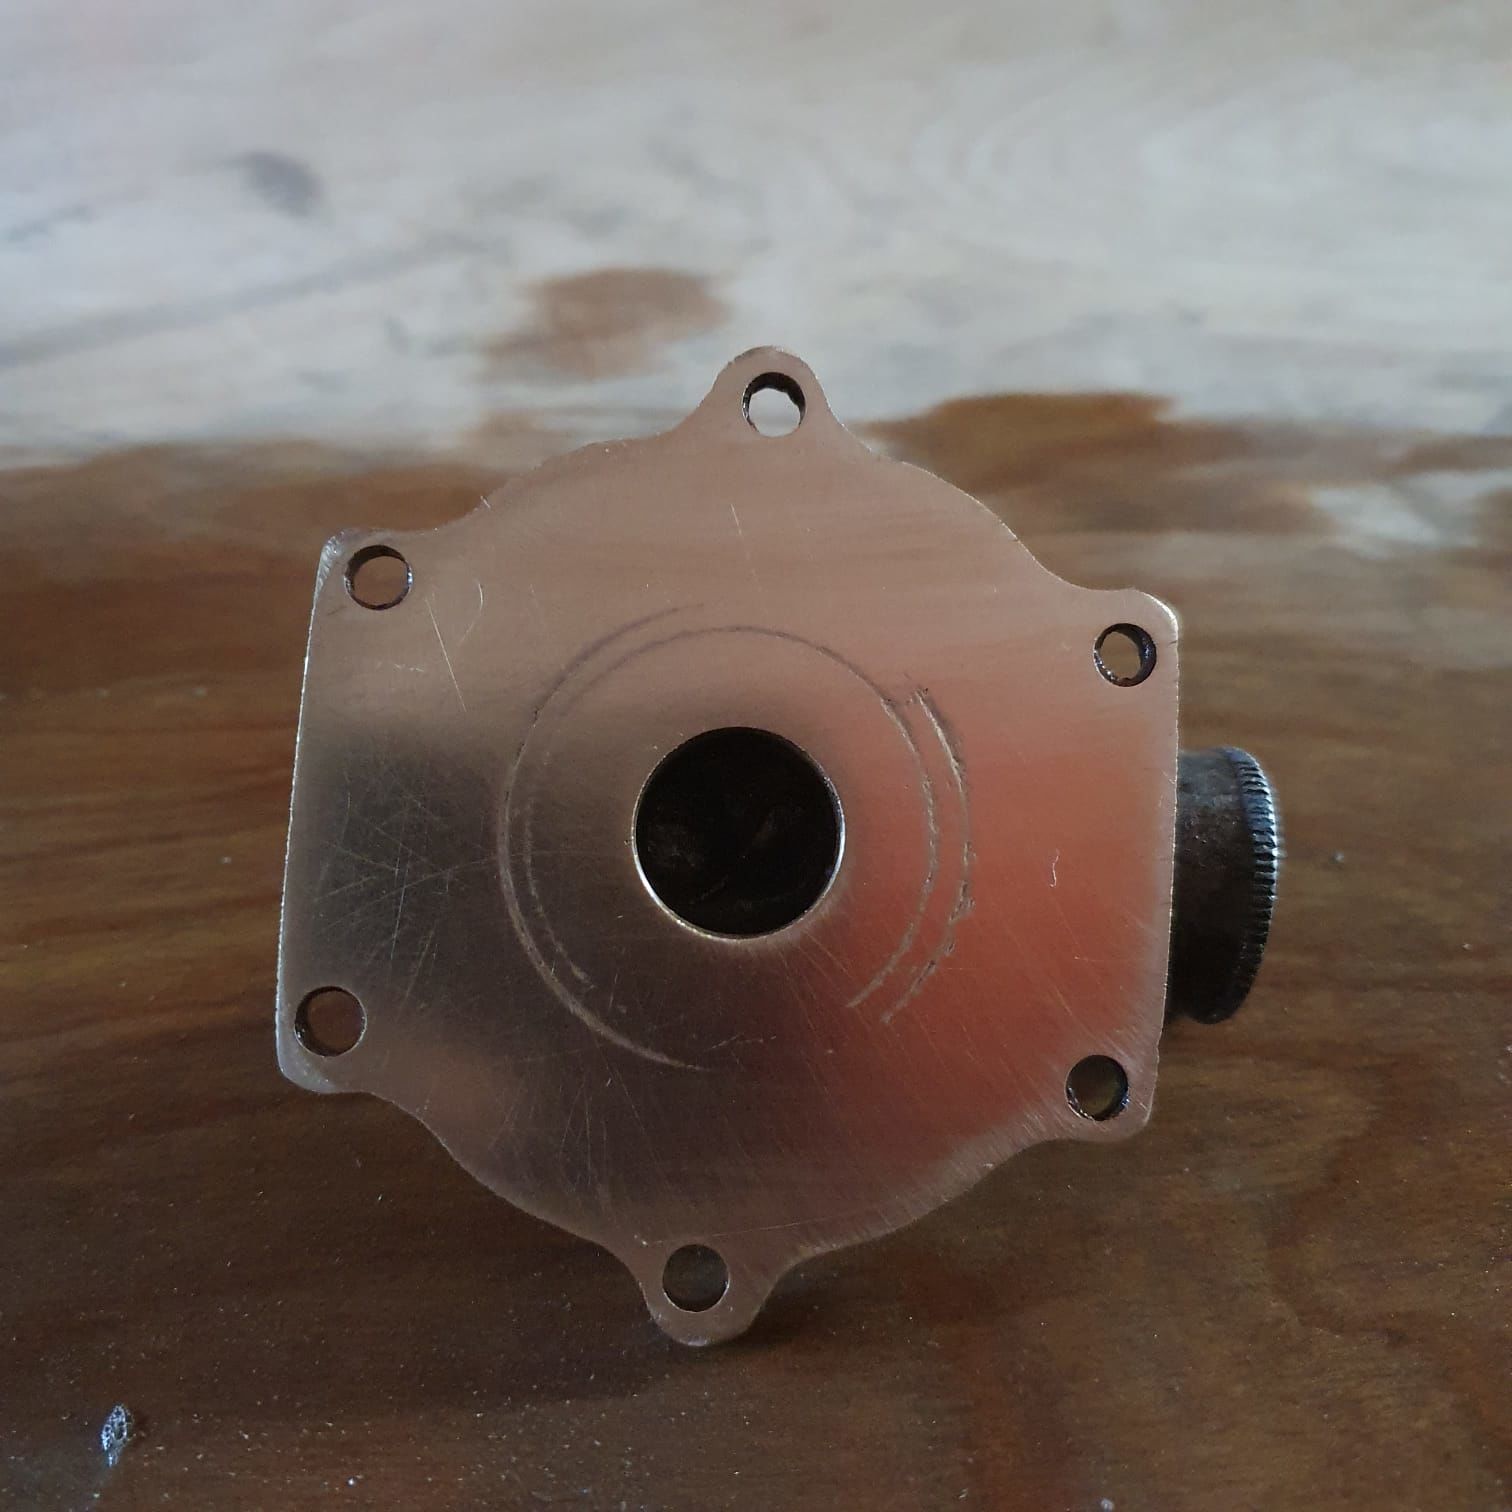
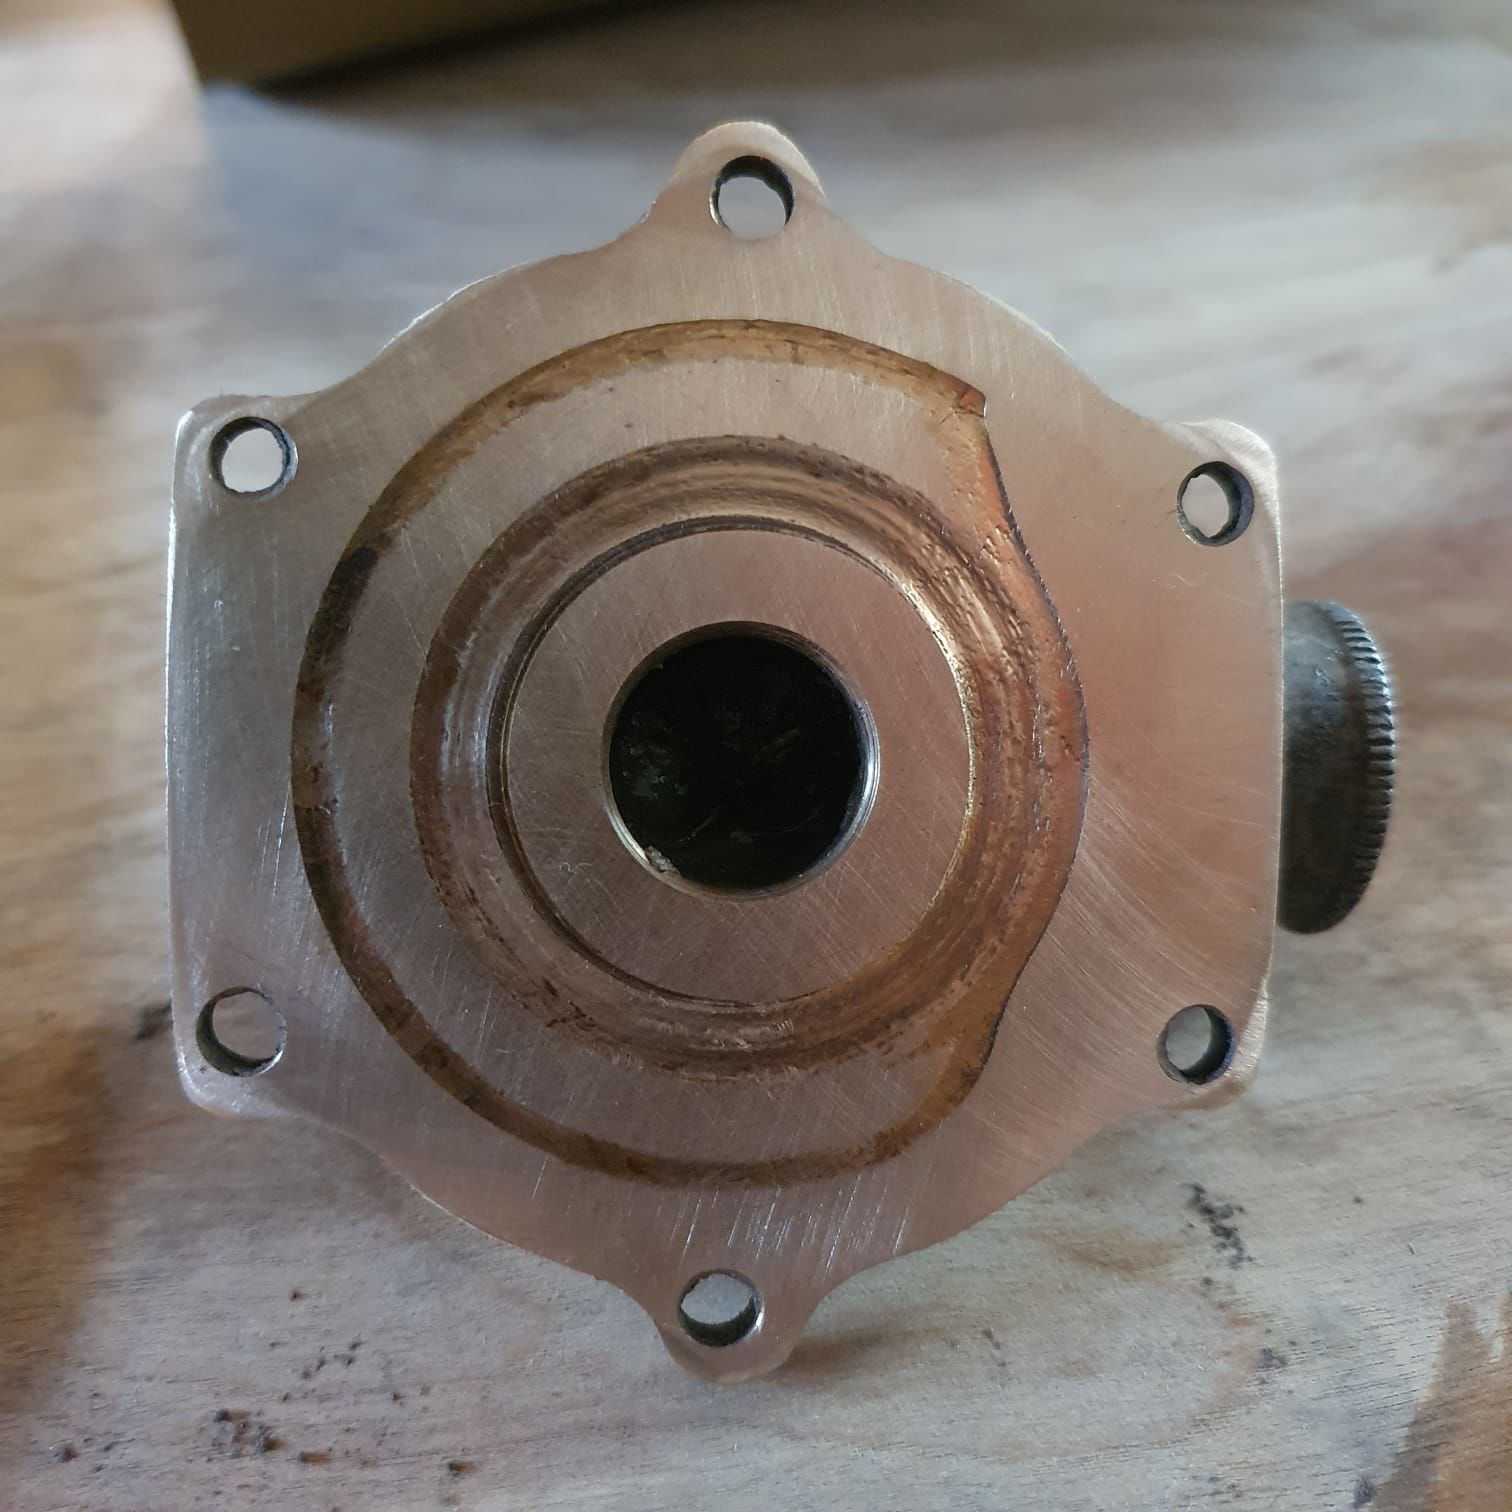
The problem is the paper I found is quite small but the plate looks quite even, circular motion is being used but some corrections were made on spot areas to level it out more even.
how much more do I need to do?
-
Ok I will go find some, so far I have this much done.
-
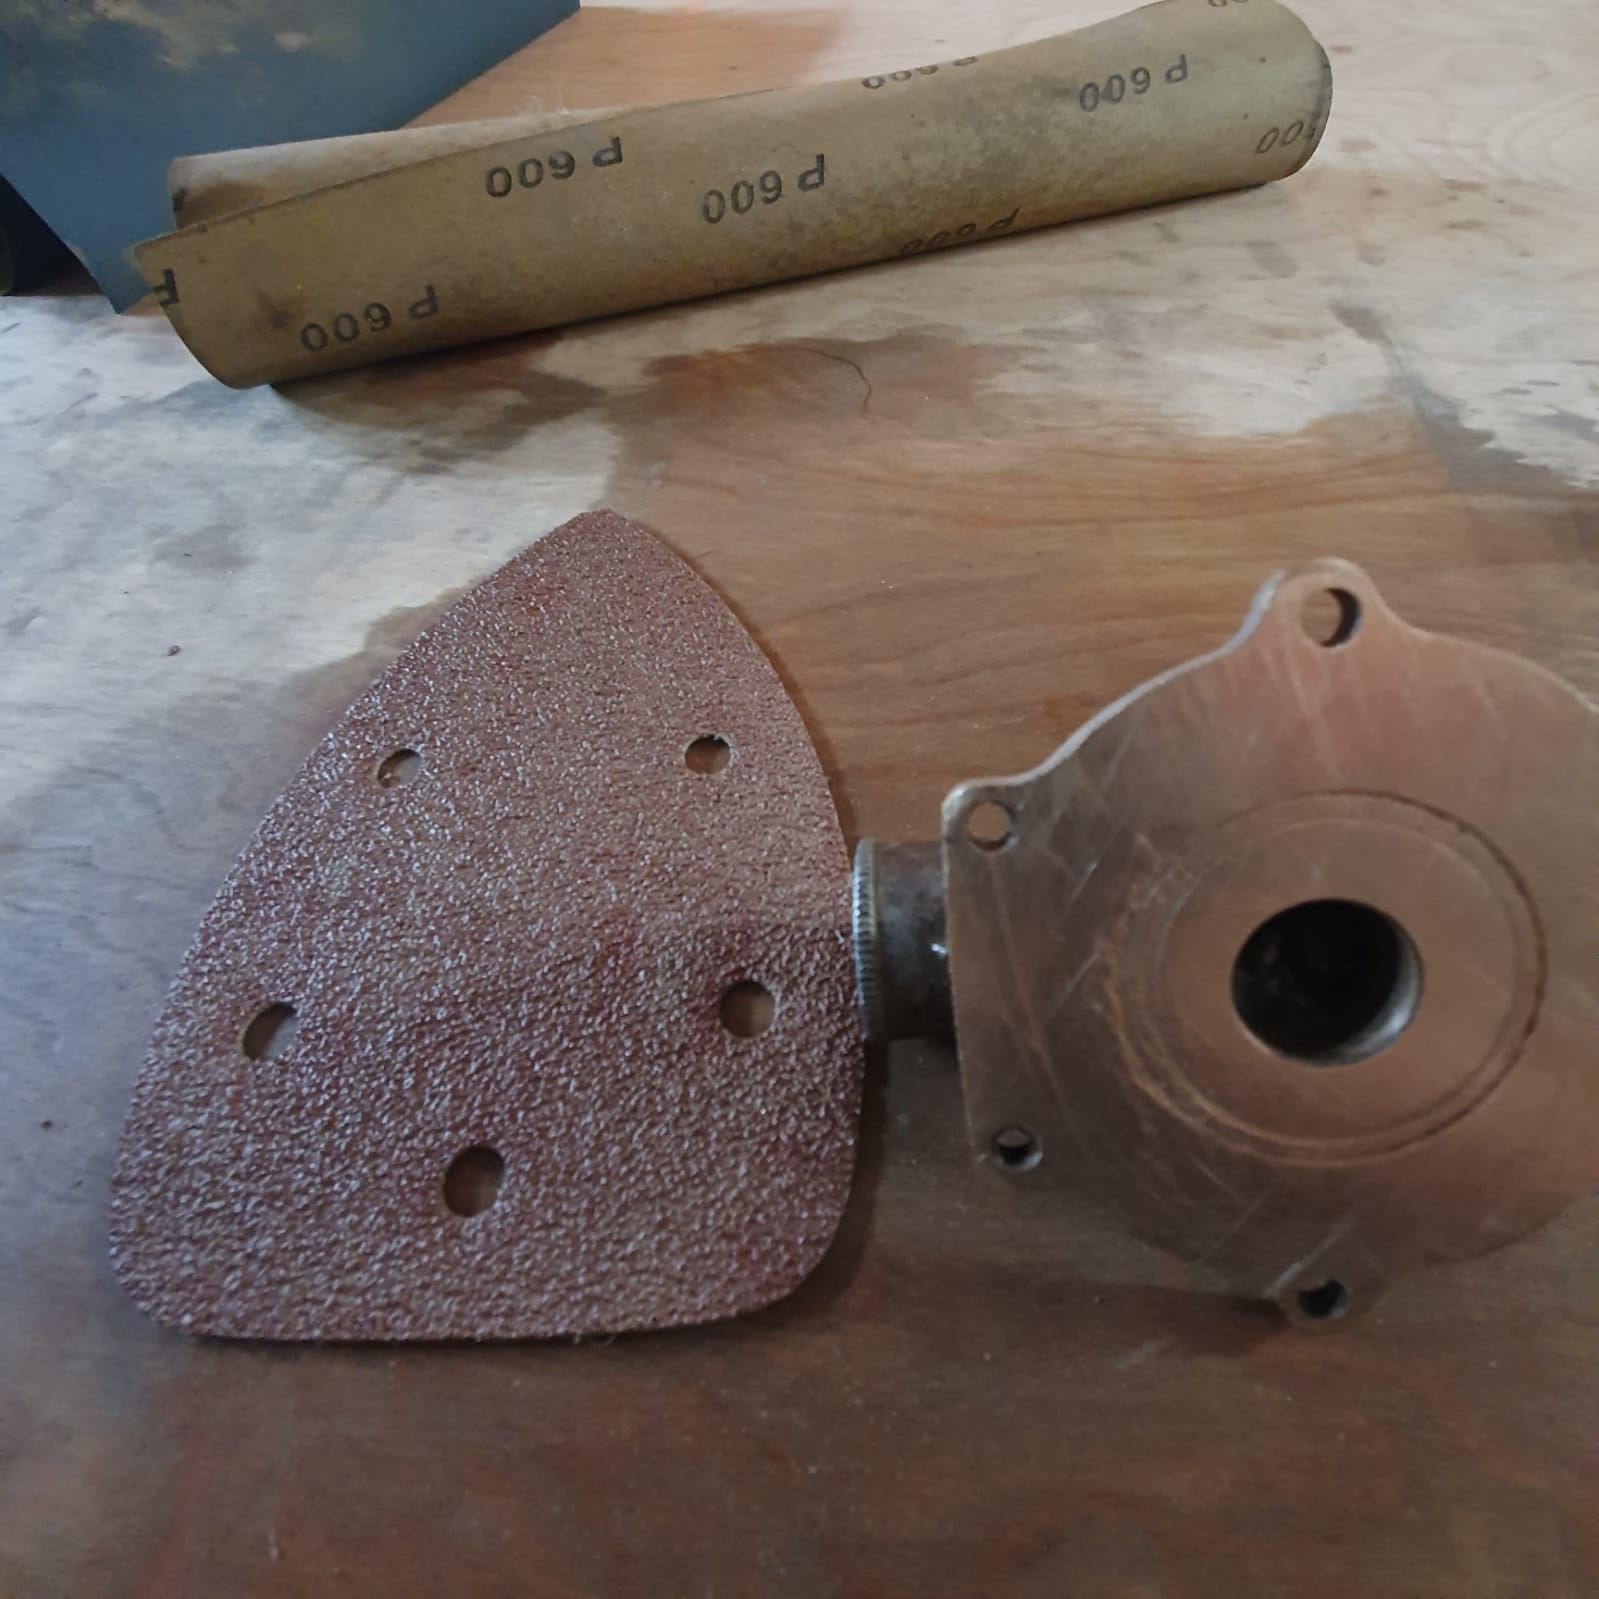
2 minutes ago, Tony Brooks said:
The problem is that you can't afford to reduce one side of plate compared to the other. This is why you should be twisting it frequently as you work. 600 grit - is that emery cloth or wet & dry? I would suggest that you use course emery cloth and when nearly there switch to fine or your 600 grit wet & dry. The angle thing is especially important with the shaft being carried in the end plate.
A further bit if information for you. Your pump has been modified to make changing the impellor easier. Originally the impellor went into the pump and then the shaft was pushed in from the back. This meant the key prevented the impellor being pulled out in the way you did. I also meant that to change the impellor you had to take the pulley off and push the shaft back enough to slip the key out. After a few impellor changes the aluminium pulleys used to wear so to make things easier people pulled the shat forward and repositioned the pulley so you can pull the impellor off the shaft and key. The downside of this is the shaft is only supported in about half the rear cover.
Ok so I will have a look for coarse cloth and yes my 600 and 1200 is wet n dry.
The key is stuck on the shaft, it looks like is that the mod?
-
2 minutes ago, Tracy D'arth said:
No, not flat enough. Coarse paper on a flat surface is the way.
Only have p 600 and p1200 ☹️

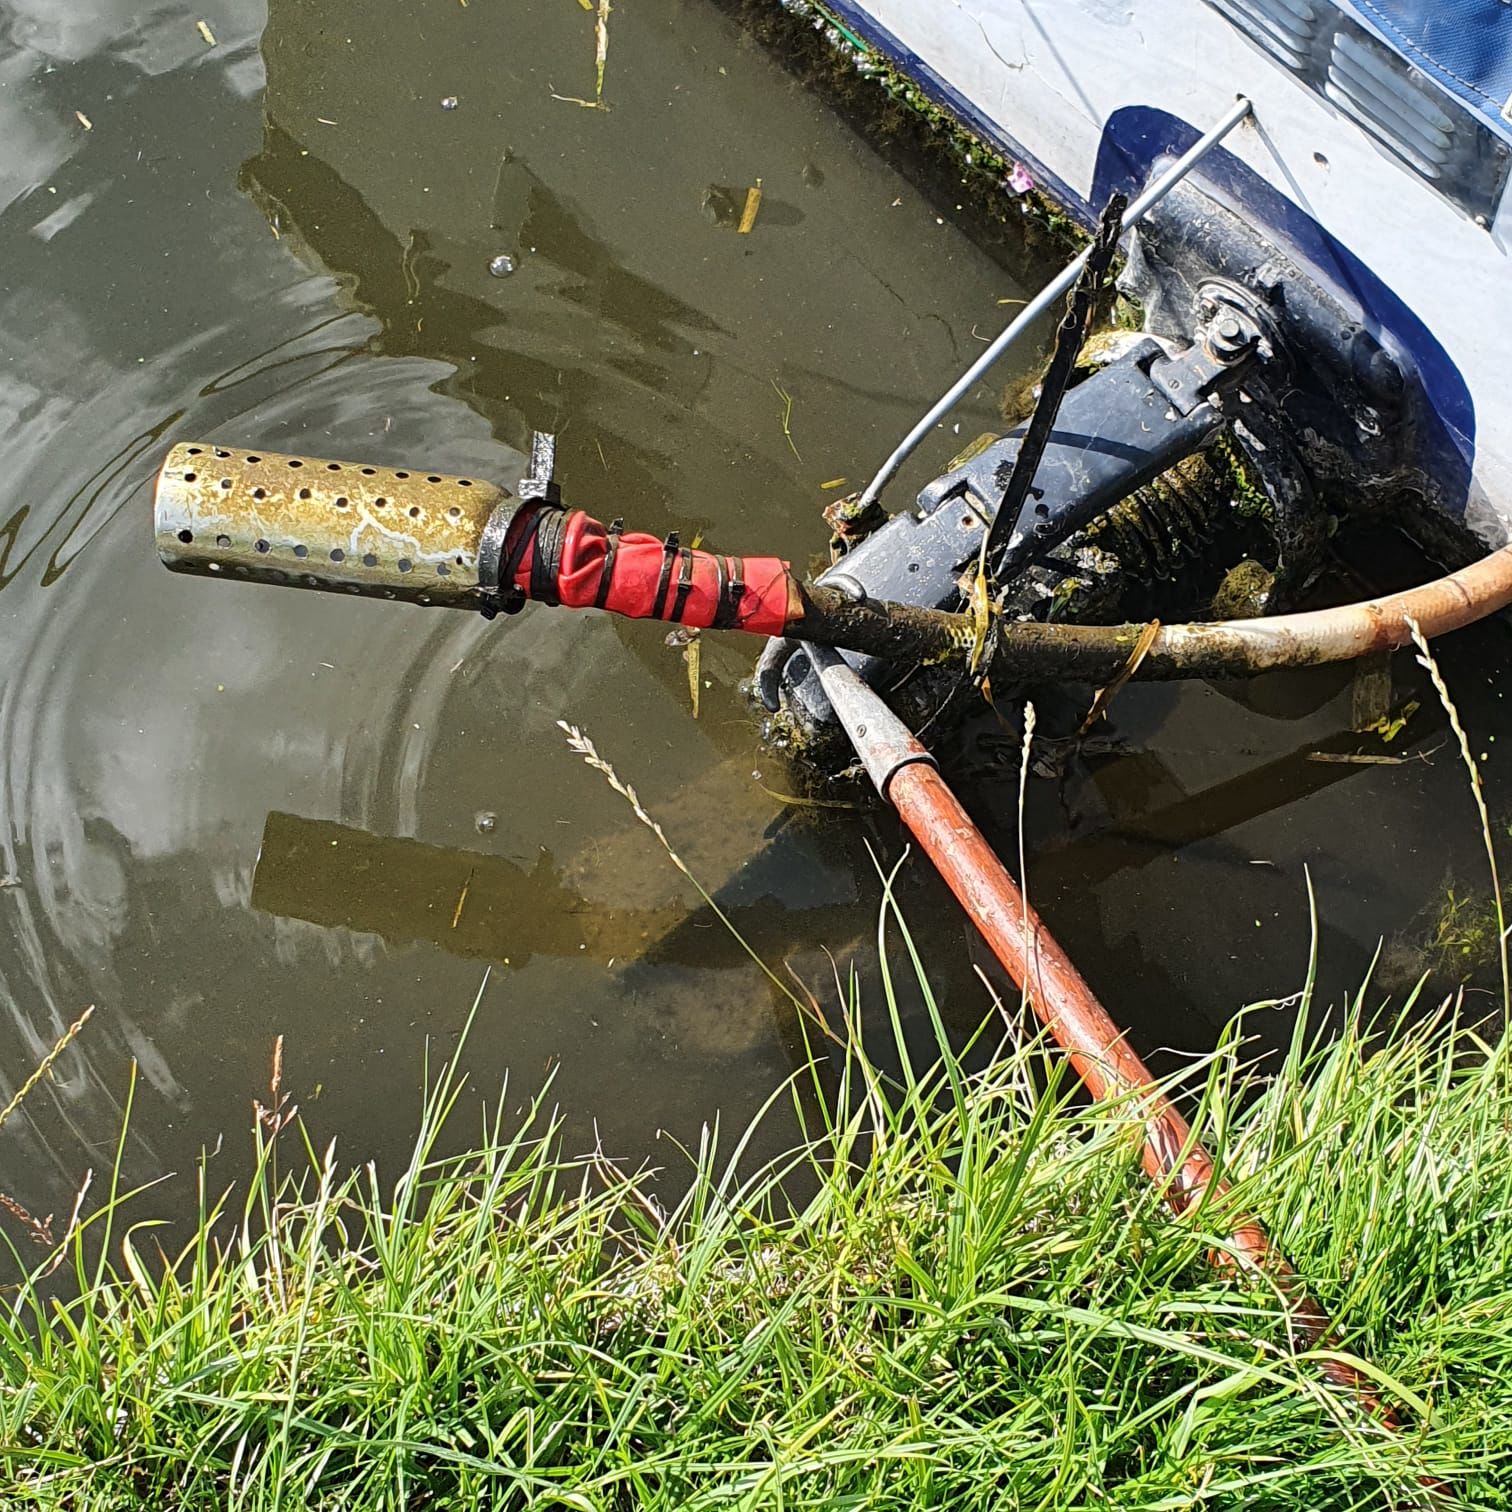


Water circulation problem.
in Boat Building & Maintenance
Posted
Yes I am looking into another filter just past where the rear pipe enters the boat, and I agree with better placement I have an idea but will test that once I get the boat up and running again.
If this filter works I am going to make another one and do a swap over once a month to check and clean thoroughly.
I am thinking to change the hose to a see through one to make it easier to observer the flow.